A Ceiling Stain Keeps Bleeding Through: Diagnose Before Adding More Primer
A ceiling mark that remains after primer may be a stain still migrating, an unresolved moisture source or an appearance difference around the repair. Confirm which one you are seeing before adding more products. Resolve water entry, assess damaged material, then test a primer intended for the remaining stain. Recoat the appropriate ceiling area only after the test shows that the source and appearance problem have been addressed.
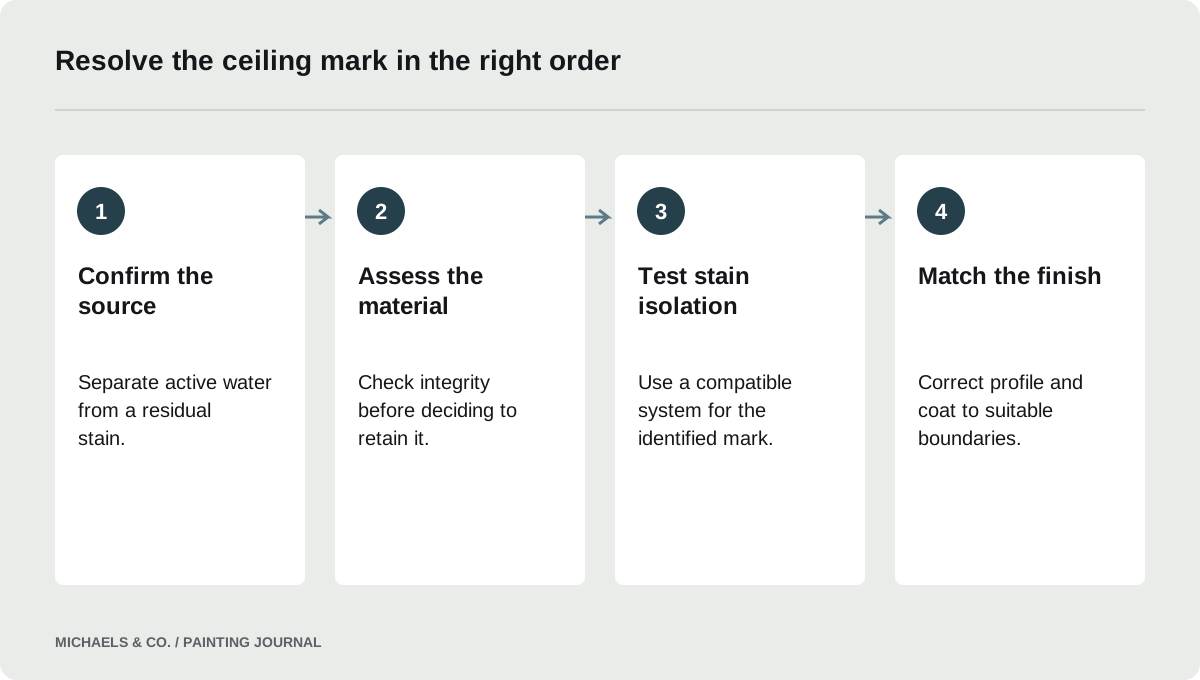
Separate a stain from a visible repair
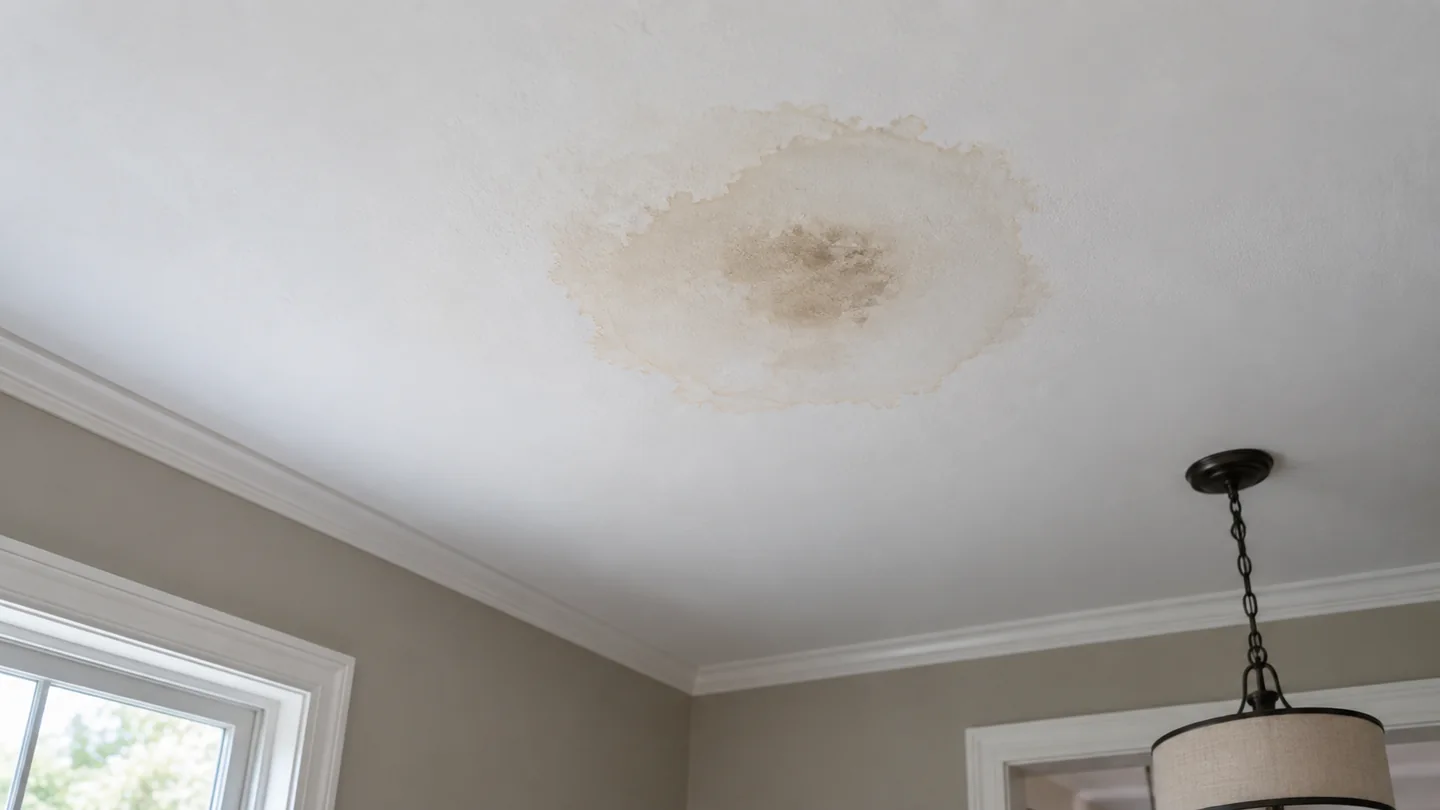
Look at the mark in diffuse light and from normal room positions. Is there actual yellow or brown coloration, or does the repaired area mainly differ in sheen? A dark-looking patch with a surrounding halo may involve both color and texture. Record the shape and whether it changes.
In this Reddit discussion, a ceiling mark remained after a homeowner's latex primer and a professional's oil-based stain blocking and repainting. The owner suspected cooking steam rather than water from above. That report does not confirm the source or prove that one primer chemistry always fails. It shows why a repeat visit should inspect the remaining mark before prescribing another product.
Verify that the source is resolved
Review the location above and around the stain. Consider plumbing, roof details, condensation and room activities when the evidence makes them relevant. Ask whether the mark is stable or expands after rain or use of fixtures. A dry surface on the inspection day does not settle that question.
Sherwin-Williams: Staining: Water, Smoke, Etc. states that a water source should be found and repaired before the stained surface is finished. Keep the actual repair record where one exists. If the source remains uncertain, the coating plan should not present stain blocking as proof that the building is repaired. A primer may hide coloration while an ongoing condition continues to damage material behind it.
- Trace the stain boundary with dated photographs rather than covering it immediately, so any growth after rain or plumbing use remains visible to the investigator.
- Record whether the ceiling is soft, sagging, damp, or merely discolored, and have unstable or actively wet material assessed before planning cosmetic work.
- Identify the staining source and the proposed blocker together; a product suited to one stain is not automatic proof of suitability for every contaminant.
- Approve a small complete repair sample after the source is resolved, including stain blocking and finish coats, before treating all visible ceiling discoloration identically.
Assess the ceiling material, not only its color
Check for sagging, softness, cracks, loose paper or deteriorated plaster. Material that has lost integrity may need replacement or another substrate repair before paint work. Do not use a hard primer film to disguise a weakened ceiling surface.
The inspection should distinguish residual staining on otherwise sound material from damage that affects the repair base. If concealed conditions or contamination are uncertain, arrange an appropriate assessment. Older ceilings may also contain materials requiring special handling, and unknown paint can require lead precautions before disturbance. The decision to retain the ceiling should be based on its condition rather than the inconvenience of replacing a patch.
Identify what has already been applied
Collect the exact primer and finish names, application dates and the order used. A brand name alone does not establish stain-blocking capability. Product families may include bonding primers, drywall sealers and several different stain blockers with different intended uses.
Also record whether the stain was cleaned, whether the material was dry and whether the primer was allowed to reach the specified recoat stage. These facts help the supplier assess the proposed correction. Avoid adding a third unknown product over two unidentified layers. A clear history is particularly useful when the remaining defect could be a sheen halo created by the repair rather than continuing stain migration.
Test an appropriate stain-isolating system
Choose a product intended for the identified residual stain and compatible with the existing surface and topcoat. Sherwin-Williams: Staining: Water, Smoke, Etc. distinguishes different stain sources and the need for suitable isolation. It does not justify a universal claim that every stain needs the same solvent-based primer.
Apply a controlled sample according to the product instructions, including preparation and the interval before topcoating. Observe whether discoloration reaches the finish after it is ready for evaluation. If it does, review the stain identity, application and substrate condition with the manufacturer. Repeatedly adding coats without documenting the result makes it harder to understand whether the system is working or simply accumulating film.
Correct the repair profile and texture
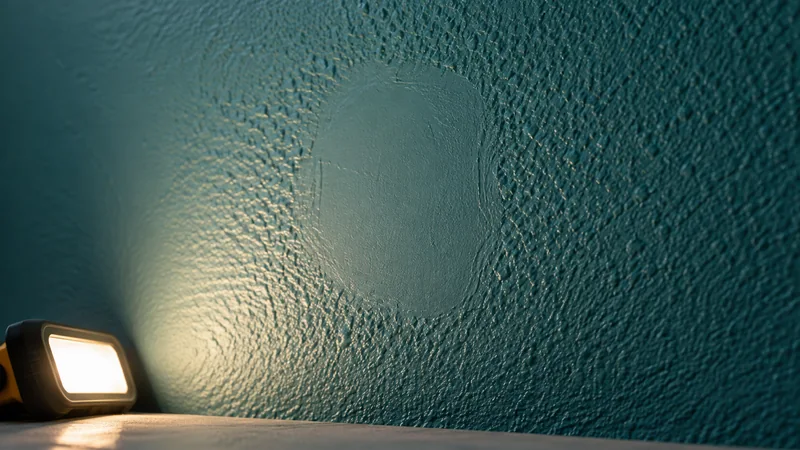
A stain can be blocked successfully while the repaired area remains visible. Inspect for a smooth patch in a textured ceiling, sanding ridges or heavy primer edges. These physical differences need correction appropriate to the surrounding finish before a broad topcoat can look uniform.
Do not judge success only by the absence of yellow. The owner may still see the repair because of reflected light. Separate that appearance problem from stain migration when discussing the next step. Where texture matching is difficult, use a sample to agree on the result. More stain blocker is not the logical response to a patch that differs only in profile or sheen.
Decide how much of the ceiling to finish
A localized coating repair may be acceptable in some areas, while a prominent continuous ceiling may require finishing to natural boundaries. Define that area before work begins. Include fixtures, perimeter edges and connected spaces in the discussion rather than discovering them after the primer sample is complete.
Use the selected paint's application guidance and evaluate the dry result under ordinary room lighting. A broad repaint cannot correct a poorly prepared stain patch underneath it. Confirm that the source, substrate, stain isolation and texture steps are complete first. This sequence avoids the frustrating situation in which the entire ceiling is painted again while the same unresolved spot continues to show.
Keep a record that distinguishes recurrence from appearance
Photograph the finished area and keep the source-repair and coating information together. Note whether a faint existing variation was accepted or whether a uniform result was required. If the mark reappears, compare its shape and color with the original record rather than assuming it is exactly the same defect.
Use a follow-up checklist: new moisture evidence, expanding coloration, changes in material condition and a stable sheen halo are separate observations. A recurring water pattern needs investigation, while a stable profile difference may need finish correction. Clear records make it possible to choose the right response instead of repeating the cycle of another primer and another whole-ceiling coat.
Questions & answers
Does shellac primer always stop a ceiling stain?
No product should be treated as an unconditional cure for an unidentified stain or an active moisture problem. Select the primer for the actual condition, follow its instructions and test the complete system. Continued discoloration is a reason to review the source and application rather than promise certainty.
How can I tell stain bleed from flashing?
Look for actual color migration versus a difference that mainly changes with reflected light. Inspect the dry patch profile and texture as well. The two problems can coexist, so document both. A stain-blocking sample and a surface assessment answer different questions.
Can I repaint once the ceiling feels dry?
Touch alone does not establish the condition of deeper material or confirm that the source is repaired. Assess the substrate and relevant moisture conditions before coating. The required drying and preparation depend on the damage and selected products, not one universal waiting period.
Sources & further reading
- Sherwin-Williams: Staining: Water, Smoke, Etc.Repair the water source, assess damaged material and select a primer designed to isolate the remaining stain.
Reader discussions
These conversations describe problems people encountered. They do not establish the cause of a defect or replace product instructions and applicable requirements.