Why Touch-Up Paint Shows Even When It Comes From the Same Can
Using paint from the original can improves your starting point, but it does not guarantee an invisible touch-up. The old wall and the new application can differ in texture, film build, condition and sheen. Check the patch after the product's drying interval, match the original application method and test a small area. If the repair still stands out, coating to a natural break is often the more predictable appearance decision.
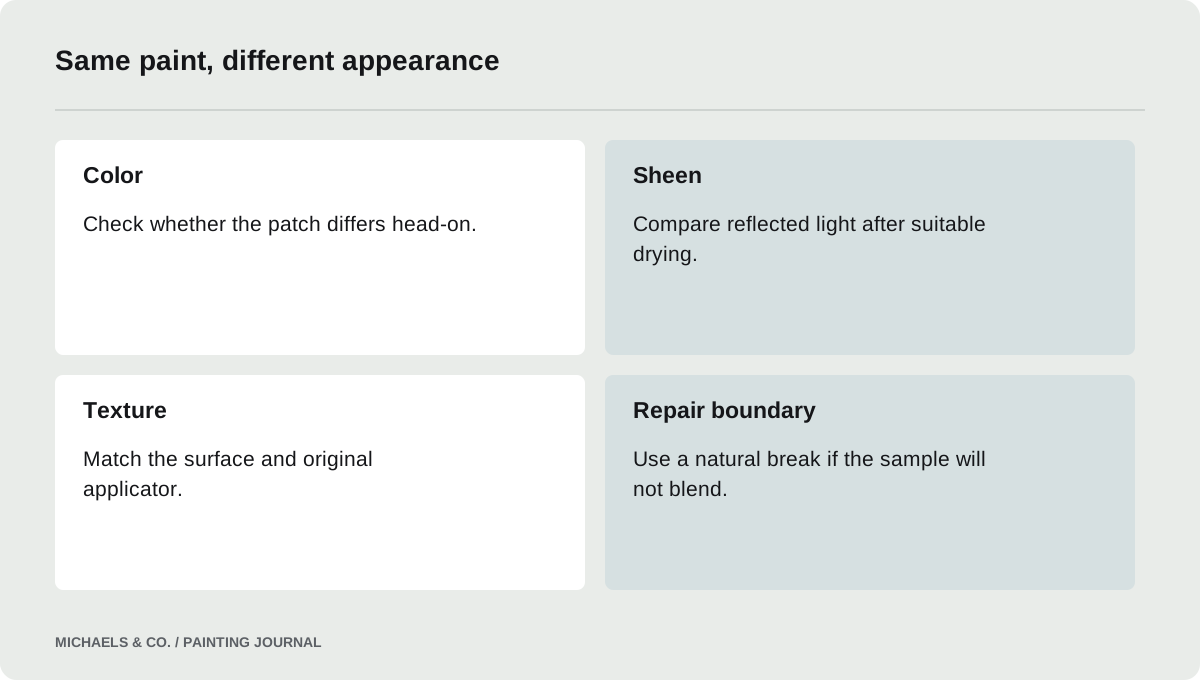
Decide what is different before changing the paint
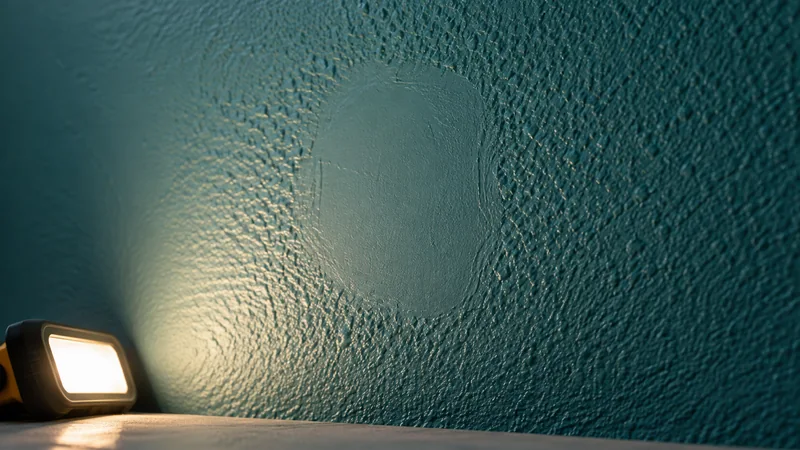
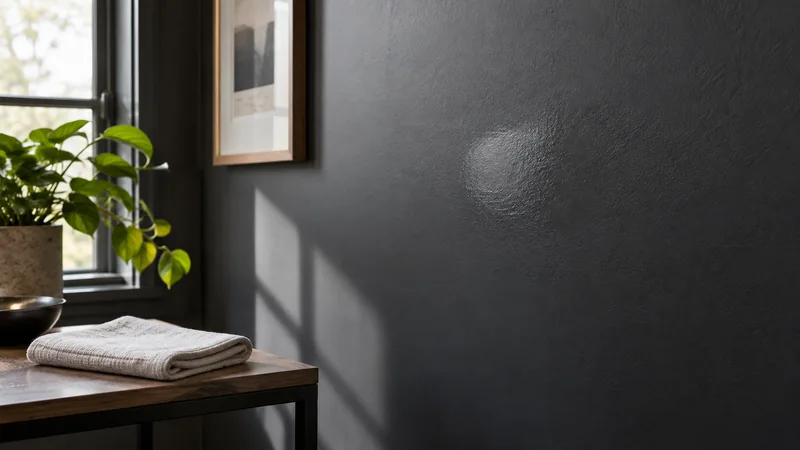
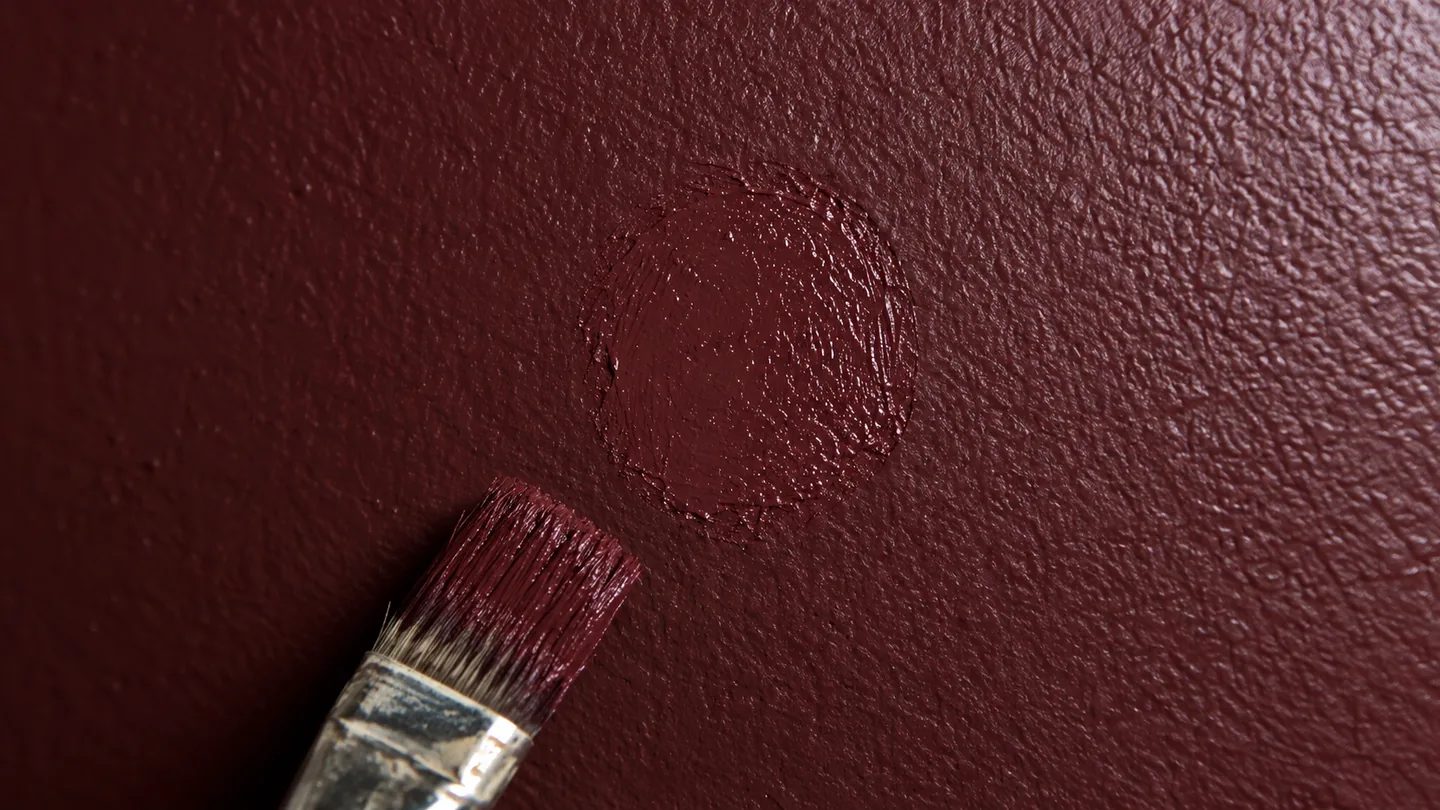
Look at the patch head-on and from the normal approaches to the wall. Is the color visibly lighter or darker, or does the difference mainly appear as reflected light? Does the repair have a smoother or rougher surface? These are separate observations and should lead to different checks.
The homeowner in this Reddit discussion used the original can and reported a good match head-on but a visible patch from the side. That is a reason to examine sheen and texture, not proof that the color formula is wrong. Ordering another color match without understanding the difference can add a second variable while leaving the original appearance problem unresolved.
Evaluate the patch at an appropriate stage
A recently applied area can look different while drying. Check the instructions for the actual coating and allow the stated conditions before judging the result. Record when the patch was applied, especially if the wall is cool, the room is humid or several wet repairs were completed underneath it.
Waiting is not a universal cure for an obvious repair. A physical ridge, smooth filler patch or different applicator texture can remain after drying. The purpose of waiting is to make a fair comparison, not to promise that every mismatch disappears after a fixed number of days. Once the finish is ready for evaluation, decide what aspect of the appearance still differs.
- Confirm the leftover can's product line, base, sheen, color formula, and storage condition rather than assuming a matching lid label proves the contents remain usable.
- View the repair from the normal entrance and along the wall under the room's usual daylight and fixtures after the test has dried.
- Compare the repair's texture with the surrounding roller pattern, including whether the patch was brushed while the original wall was rolled by the painter.
- Stop enlarging a visibly different patch once a representative test fails; price repainting to natural boundaries before scattered attempts create several overlapping repair edges.
Check the original can and the room records
Confirm that the can belongs to this wall, not the trim, ceiling or another room with a similar color. Read the product line, color formula and sheen. Two cans with the same color name can contain different products or finishes. If several containers were combined during the original project, an uncombined leftover may not represent the final mixture.
Inspect stored material according to manufacturer guidance before using it. Contamination or a coating that no longer mixes properly changes the decision. Benjamin Moore: How to Touch Up Paint recommends retaining product and location records for later repairs. A labeled container is useful, but its existence does not establish that the wall's current condition matches the material still inside it.
Match how the surface was originally made
A brush stroke and a roller application can reflect light differently even when they contain the same paint. A sprayed finish may also differ from a rolled patch. Sherwin-Williams: Obvious Repair (Touch-Up) identifies tool choice and repair texture as reasons a touch-up becomes obvious.
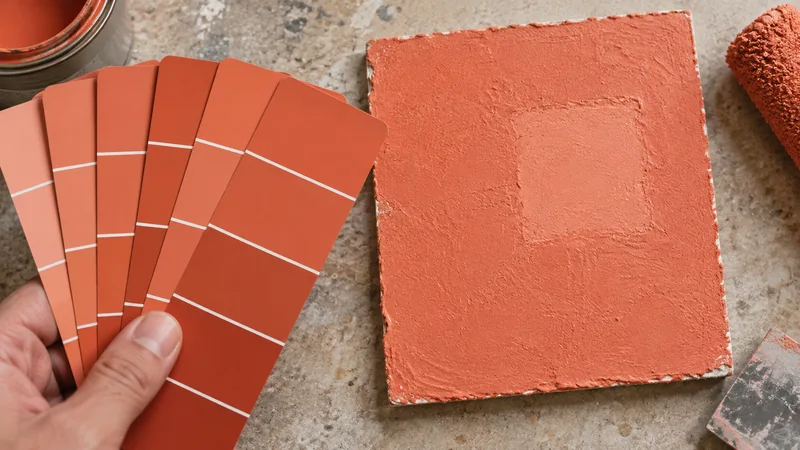
Try to establish the original method and use a suitable matching applicator for the sample. Check the substrate too. A filled dent may be flatter than the surrounding roller profile, while repeated spot coating can create a raised island. Adding paint to the same small spot will not necessarily correct either condition. The repair should reproduce the surrounding surface before expecting the color to disappear into it.
Keep the sample controlled
Choose one representative area and clean it only as the existing coating allows. Complete necessary surface repair and priming before the final touch-up. Apply the sample without repeatedly revisiting a partly set film. Follow any manufacturer instructions concerning thinning or additives; do not dilute paint merely because an internet comment says it will blend.
Record the tool and preparation so the result can be repeated if it succeeds. Compare the dry sample under the room's usual light. If it fails, identify whether color, sheen or texture is still responsible. A series of progressively larger random patches can make it harder to see what changed and can leave more of the wall requiring corrective work.
Understand why patch porosity matters
A repair compound can absorb coating differently from the surrounding painted wall. Sherwin-Williams: How to Fix Paint Flashing describes uneven porosity and film build as possible contributors to flashing. Appropriate sealing can help with absorption, but it cannot erase a ridge or make a smooth repair physically identical to a textured wall.
Check whether the patch was primed with a product suited to its material and whether the surrounding area remains sound. Do not assume that several finish coats provide the same preparation as a suitable primer. Equally, do not add primer automatically to every unpatched scuff. The preparation should address the surface that is actually present and the reason the sample is visible.
Set a stopping point for spot repairs
A useful plan allows one controlled attempt, then a decision about broader finishing. That prevents a minor defect from consuming repeated visits without an agreed appearance goal. The stopping point is especially valuable on long walls beside windows, where normal side lighting may make a repair conspicuous.
If the sample cannot achieve the agreed result, compare painting the wall to corners or another natural break with accepting the visible repair. The larger scope should include appropriate edge work rather than a large rectangle with feathered sides in the middle of the wall. Explain the difference between a serviceable protective coating and an appearance that meets the owner's expectations; one does not automatically imply the other.
Preserve a useful record for the next maintenance visit
Label retained paint with the room, wall, product, sheen and date, and keep a note of the application method. Photograph the finished wall and any agreed limitations. If the repair was intentionally accepted as visible, record that decision so a later maintenance team does not interpret it as a newly developed stain.
For a rental or commercial building, build these details into the paint schedule rather than depending on a shelf of partly labeled cans. A future worker should be able to identify the wall system without guessing from color. Good records improve the chance of a limited repair and make it easier to estimate honestly when a full plane will need recoating.
Questions & answers
Does a visible touch-up mean the stored paint went bad?
Not necessarily. The applicator, surface texture, sheen and conditions can produce a visible patch even with usable original paint. Inspect the stored material and confirm the product, but also compare the wall and repair method. Do not replace the paint until you know which difference matters.
Are flat paints guaranteed to touch up invisibly?
No. Flatter finishes may be more forgiving, but texture, surface condition and product differences still matter. Benjamin Moore describes touch-ups as potentially imperfect and recommends considering a full-wall repaint when needed. Evaluate a sample rather than treating sheen as a guarantee.
Can I feather a patch instead of painting the wall?
A carefully prepared sample may blend acceptably, depending on the finish and lighting. Feathering does not solve a wrong color, unstable surface or substantial texture mismatch. Agree on the result after drying; if the patch remains conspicuous, painting to a natural boundary is more predictable.
Sources & further reading
- Sherwin-Williams: Obvious Repair (Touch-Up)Application tools, batch, repair texture and environmental differences affect how a touch-up blends.
- Sherwin-Williams: How to Fix Paint FlashingUneven porosity and film build can change sheen; sealing repairs can help equalize absorption.
- Benjamin Moore: How to Touch Up PaintColor, sheen and texture all affect touch-up results; repainting the full wall is sometimes more predictable.
Reader discussions
These conversations describe problems people encountered. They do not establish the cause of a defect or replace product instructions and applicable requirements.