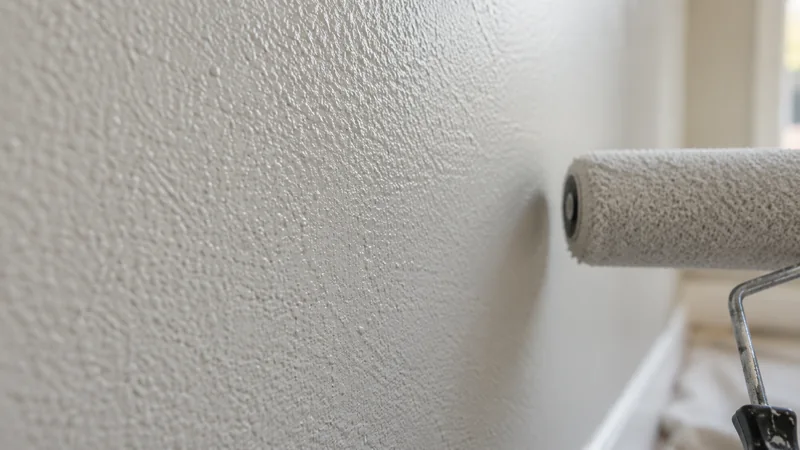
A Dark Border Around the Ceiling: Fixing Picture Framing After Painting
A dark or glossy border around a painted ceiling can result when brushed edges and the rolled field differ in thickness, texture or drying sequence. Confirm that the band follows the cut-in and inspect for ridges before recoating. Prepare any physical defects, then coordinate edge work and rolling in manageable areas. Another coat should use a revised process rather than repeat the same perimeter-first sequence.
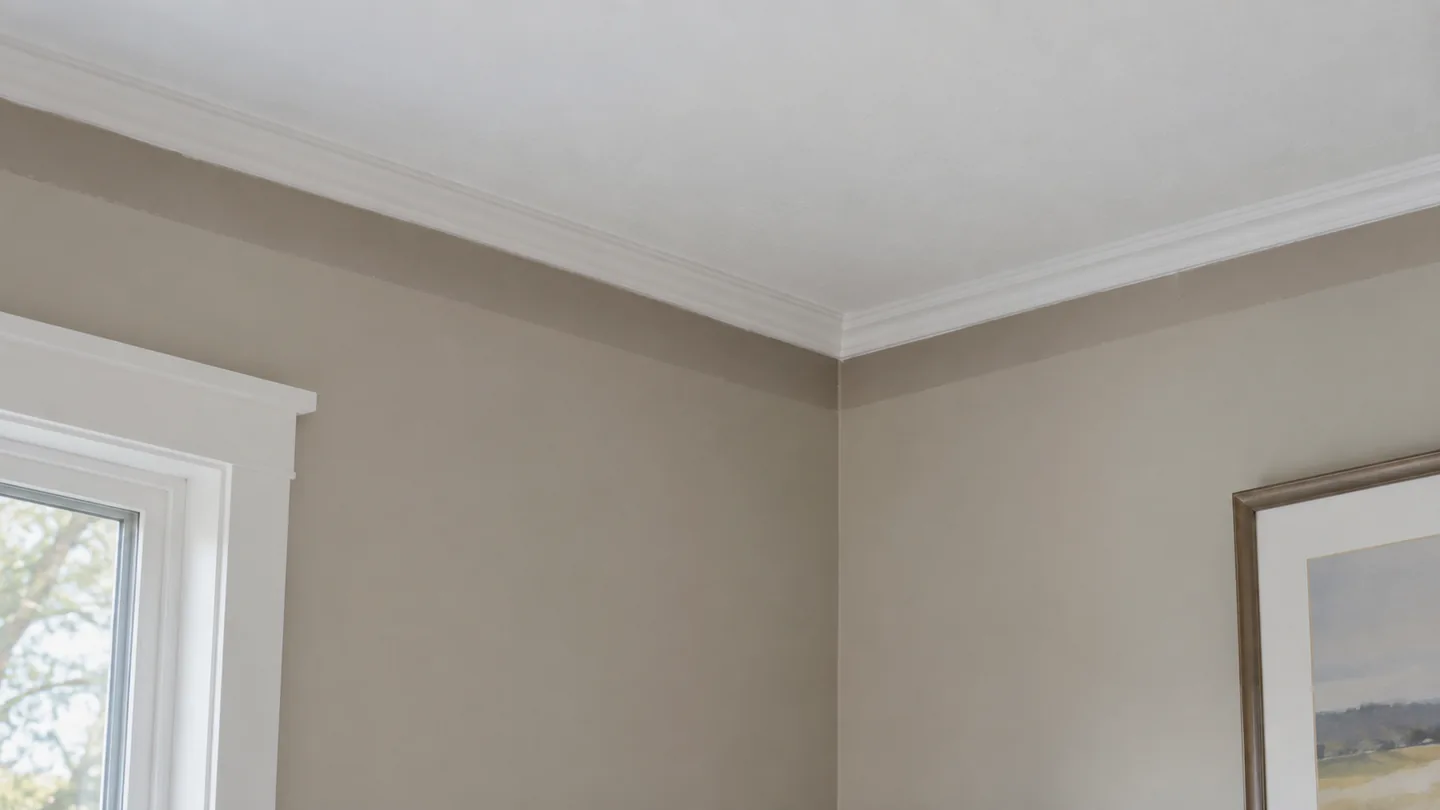
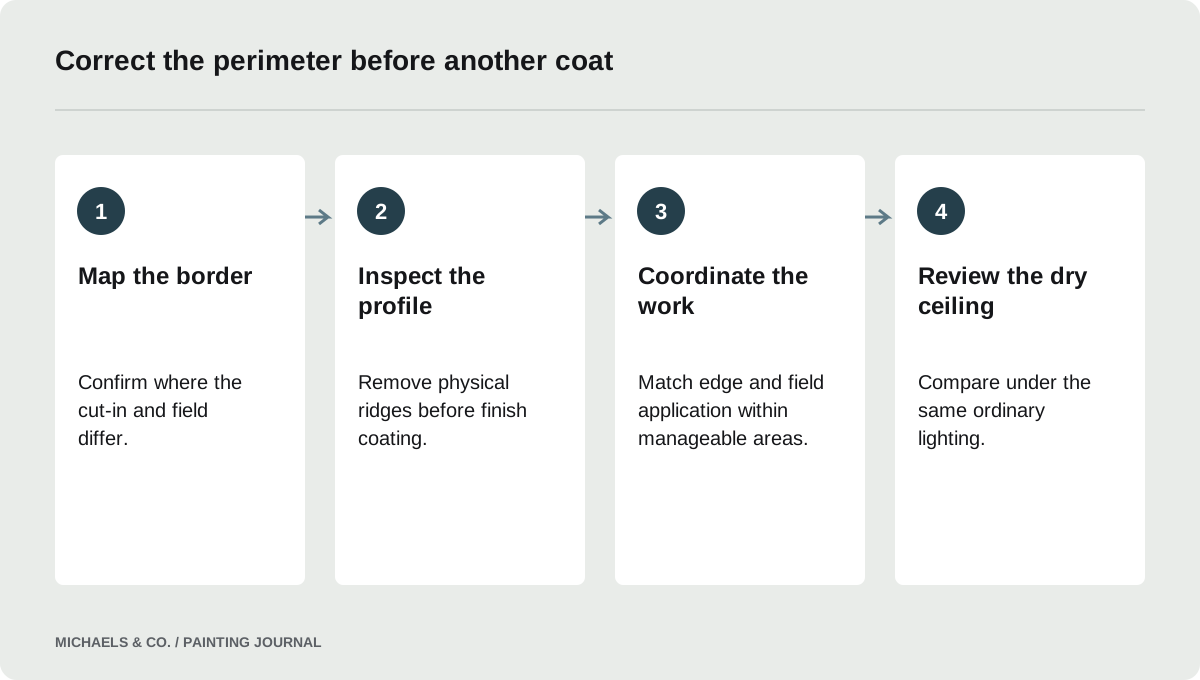
Confirm that the border follows the cut-in
Look at the ceiling from several ordinary positions and mark where the band begins and ends. Compare its width around the room and across openings. A consistent perimeter band suggests an application difference, while a stain concentrated below a roof detail or a line following a drywall joint may need a different investigation.
In this Reddit discussion, a large ceiling showed its brushed perimeter after the second coat, despite paint mixing and rolling close to the wall. The owner wanted to know whether a third coat would help. That question cannot be answered by coat count alone. The repair depends on whether the border is a coverage difference, a texture difference or a raised edge.
Compare the brushed edge with the rolled field
Sherwin-Williams: Picture Framing / Hatbanding describes picture framing as a nonuniform appearance associated with different application methods and film builds. It also identifies lost wet edges and incomplete mixing as possible contributors. The border can therefore remain visible even when the same container supplied both areas.
Inspect the surface carefully. A brush may leave a different profile than the roller, and overlapping application can change how much coating sits near the perimeter. Do not assume that a darker border always means too little paint or always means too much. The useful observation is how the edge differs from the adjacent field and whether the difference is physical or optical.
- Check whether the border follows every cut-in edge or only areas repaired near the ceiling; the shape helps distinguish application differences from localized substrate changes.
- Compare the border and field in diffuse light and reflected light to establish whether color coverage, sheen, or texture contributes most to the contrast.
- Review whether the cut-in and rolled field used the same mixed paint and whether either area received extra material or a different number of coats.
- Approve the revised edge-and-field sequence on one complete representative surface before extending it through the room, and judge the sample only after suitable drying.
Review how the ceiling was divided into work
Ask when the perimeter was cut in relative to rolling each section. On a large ceiling with hallways or a stair opening, the distance traveled can make a simple small-room method unsuitable. Record where work paused, where a roller was reloaded and how the edge work was coordinated.
The aim is not to impose one rigid direction for every ceiling. It is to understand whether the sequence allowed each adjoining area to be finished within the coating's workable conditions. A helper cutting far ahead may create a different result from one working alongside the roller. Product behavior, room conditions and access all influence a practical pace.
Check mixing and material consistency
Confirm that all containers were the same product, sheen and color. If multiple containers were used, review how they were mixed and distributed across the job. Material settling or inconsistent mixing deserves attention before the entire ceiling is coated again.
Do not introduce an additive automatically because the first result was frustrating. Check whether the actual product permits it and under what conditions. The presence of an extender does not establish that every cut-in stayed workable. Also review roller and brush recommendations for the selected coating. The correction should produce consistent application, not rely on a collection of unrelated adjustments that make the result harder to interpret.
Correct ridges before adding another layer
If the border has a raised edge or obvious brush buildup, address that physical profile before recoating. More paint can follow the existing shape and preserve the visible line. Check older or unknown coatings for applicable lead precautions before sanding or scraping, and protect the room from preparation debris.
Where correction exposes porous material, prepare it appropriately for the finish system. Avoid leaving a narrow smooth strip beside a textured field. The repaired perimeter must blend in profile as well as color. If extensive surface variation predates the current painting, discuss whether the scope includes leveling or only a finish correction. That distinction matters especially on a large, strongly lit ceiling.
Plan a coordinated application sequence
Arrange access, lighting and supplies before starting the next coat. Divide the work into areas that can be completed consistently, accounting for hallways, returns and fixtures. If two people are working, agree on a pace that keeps the relevant cut-in and field coordinated.
Sherwin-Williams: Picture Framing / Hatbanding recommends smaller work areas and uniform application rather than cutting the entire room first. Adapt that principle to the ceiling and the product instructions. Work close enough to the perimeter to reduce an abrupt brush-to-roller transition without damaging the adjacent wall. A practice area or representative trial can establish the method before committing to a ceiling that would be costly to repeat again.
Evaluate after drying without chasing wet differences
Freshly applied areas can appear different as they dry. Follow the product's evaluation conditions and avoid repeatedly brushing the border while the rolled field is setting. That can create a new texture or thickness difference just as the original one is being corrected.
Compare the dry result from the same positions and under the same light used for the initial inspection. If the band remains in exactly the same location, inspect the physical surface again. If a new pattern follows the latest work sections, review that sequence. This comparison makes the next decision more specific than simply asking whether a fourth coat is necessary.
Agree on the finished ceiling scope
A correction may need to include the full connected ceiling plane rather than only the visible strip. Define the natural boundaries, wall-edge work and protection needed for the room. Repainting a broad rectangle inside the old border can leave another visible transition if it is not part of a coherent finish plan.
At closeout, compare the ceiling with the approved sample or written appearance expectation. Record any existing texture or substrate variation that was not included in the correction. Keep product and application details for later repairs around lights or access openings. A consistent finish is easier to maintain when the next worker knows whether the surface was brushed, rolled, sprayed or finished with a combination of methods.
Questions & answers
Will rolling without cutting in remove the border?
It may leave incomplete coverage at the edge or preserve an existing texture difference. Inspect the border first and plan coordinated edge and field work. The correct method depends on access, substrate condition and the coating rather than a blanket instruction to omit the brush.
Can dead-flat ceiling paint still show picture framing?
Yes, a flat sheen does not eliminate coverage, texture or film-build differences. Compare the border with the field and review the application sequence. Do not assume that a sheen label guarantees a uniform result regardless of preparation or how the material was applied.
Do I have to repaint the connected hallway too?
That depends on the ceiling layout and the available natural boundaries. A visible stop in an uninterrupted plane may create another transition. Define the connected area with the painter before work begins, using a sample or dry comparison where the appearance is uncertain.
Sources & further reading
- Sherwin-Williams: Picture Framing / HatbandingBrush and roller film-build differences, lost wet edges and incomplete mixing can create a perimeter band.
Reader discussions
These conversations describe problems people encountered. They do not establish the cause of a defect or replace product instructions and applicable requirements.