Fresh Wall Paint Is Bubbling: What to Check Before Sanding It Again
Fresh paint bubbles need observation and investigation before another coat. Record when they appeared and whether they remain after the product's drying period. Persistent blisters can involve a weak old layer, contamination, moisture or unsuitable application conditions. Identify where the film is lifting, repair the cause and test a small area. Sanding and immediately recoating without that information can repeat the failure.
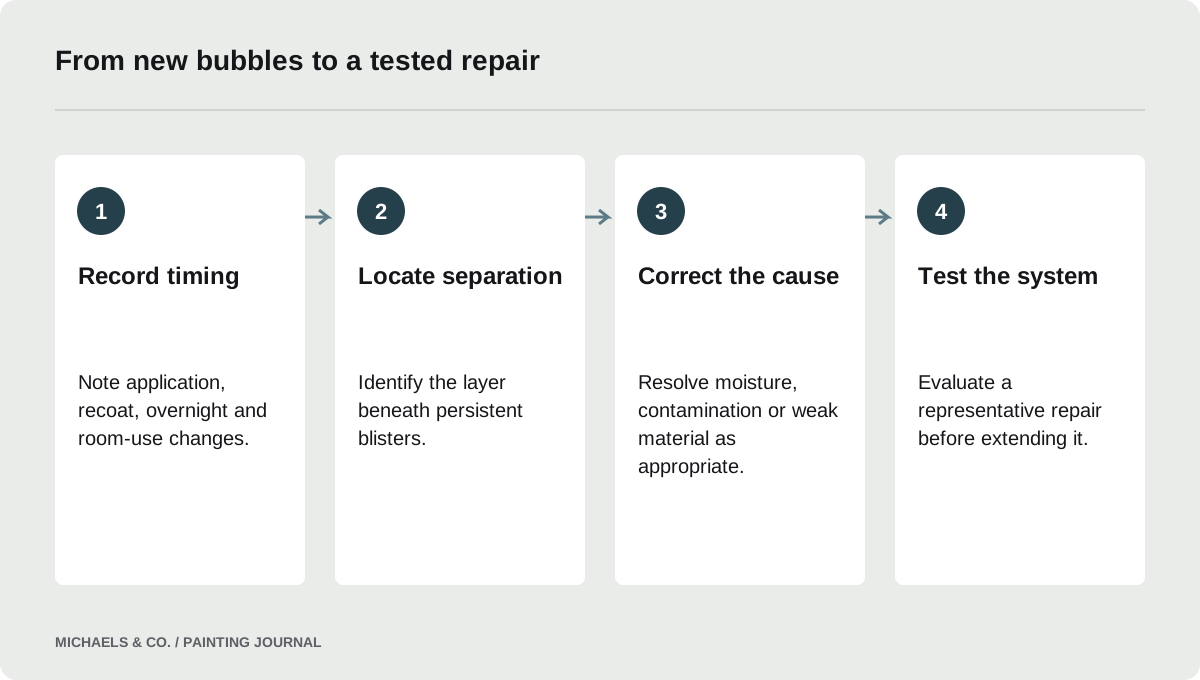
Record when the bubbles appeared
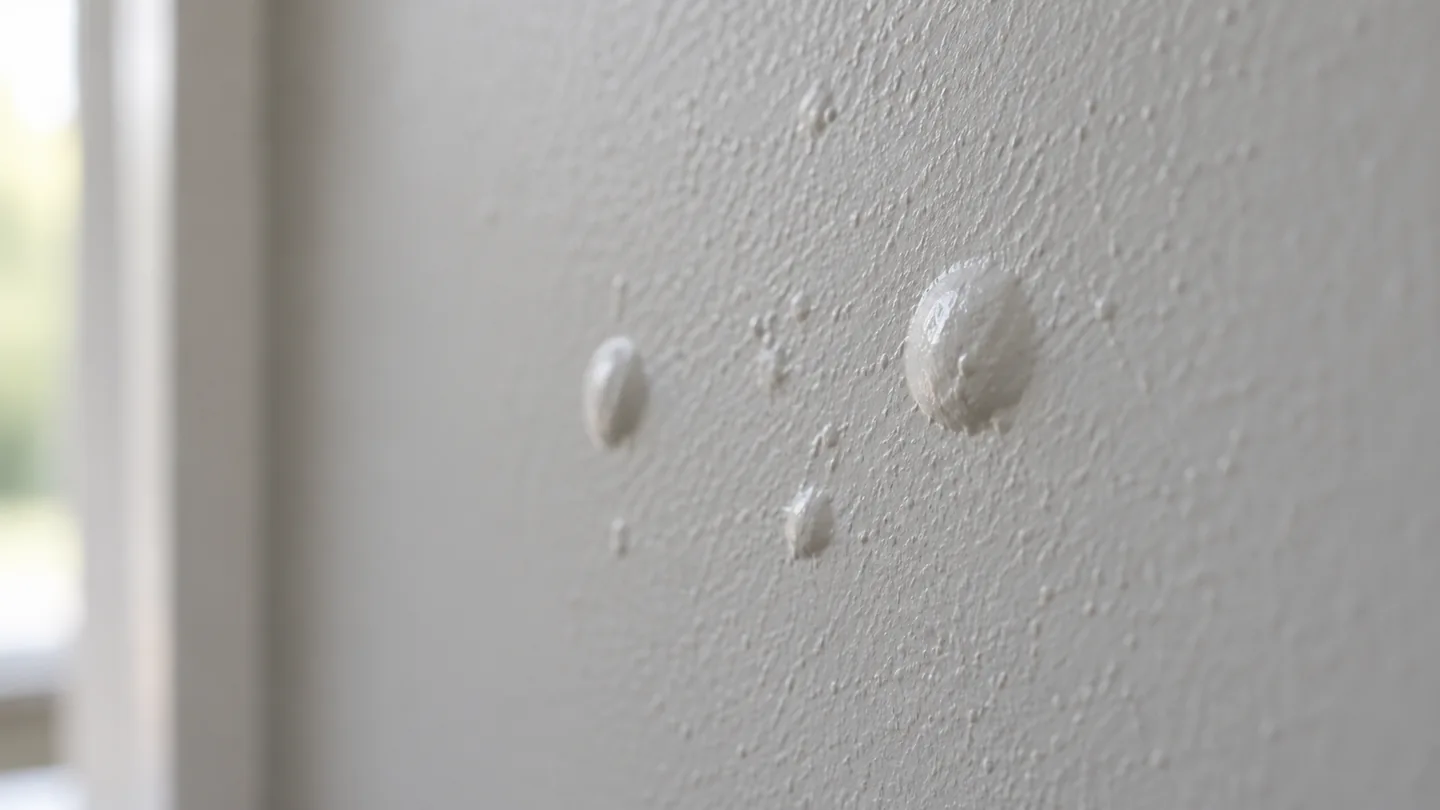
Timing helps distinguish a defect that develops during application from one noticed days later. Write down whether the bubbles appeared while rolling, after a recoat, overnight or following use of the room. Photograph their size and distribution so you can tell whether they change instead of relying on memory.
In this Reddit discussion, a bedroom developed bubbles after repainting, and sanding followed by a thin recoat left an unattractive area with further bubbles. The post illustrates why repeating the same action is not a diagnostic method. It does not prove that the previous paint was oil-based, that the room was too humid or that the new paint itself was defective.
Give the coating an appropriate observation window
A newly applied film can change appearance as it dries. Check the product directions and the actual room conditions before deciding that every small irregularity is a permanent blister. Avoid touching or repeatedly rolling a coating that has begun to set; that can introduce additional texture and complicate the original symptom.
Observation should not become an excuse to ignore a spreading defect. Bubbles that remain, crack, release from the surface or recur under normal room use require investigation. A claim that all bubbles will disappear is no more reliable than a claim that every bubble requires stripping the room. Compare what happens in a representative area over the specified drying period.
- Mark whether bubbles appeared during rolling, while drying, after a later coat, or after water exposure; the sequence narrows the useful investigation.
- Compare bubble locations with repairs, old paint boundaries, exterior walls, and plumbing routes before assuming the roller introduced air throughout the entire surface.
- Check whether an already opened blister exposes damp material, powder, or an intact glossy layer; photograph the observation without peeling additional uncertain coating.
- Keep a record of room conditions and the products used, including primer and patch material, so compatibility questions can be checked against actual directions.
Identify which interface is releasing
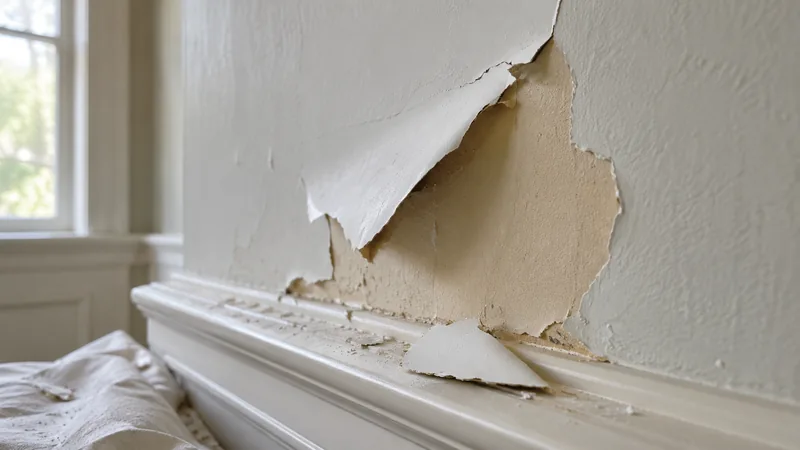
Where coating has already opened, examine the exposed layer and the back of the detached film. Note whether the old color remains, whether primer has lifted too, or whether wall material is attached. Preserve these observations before covering the area with a new patch.
Sherwin-Williams: Blistering distinguishes blistering down to the substrate from lifting between coating layers and describes several possible causes. That distinction helps direct the next check, but it does not turn a chip into a complete moisture diagnosis. Compare more than one affected location if the pattern varies. A room can contain an old repair, a glossy section and a moisture-affected area at the same time.
Check contamination and previous repairs
Ask what was on the surface before painting. Dust from sanding, grease, cleaning residue and glossy old finishes can all deserve attention. A recently filled area may also have different absorption or residual moisture from the surrounding wall. Record the filler, primer and sequence rather than describing everything simply as a painted wall.
Sherwin-Williams: Peeling Over Hard, Slick Surfaces explains why hard, slick surfaces may need preparation or a suitable bonding system. The remedy must fit the actual material. A stain-blocking primer chosen because it is powerful in another situation may not solve a bonding problem here. Adding more products also makes it harder to identify which interface continues to fail.
Check moisture and application conditions separately
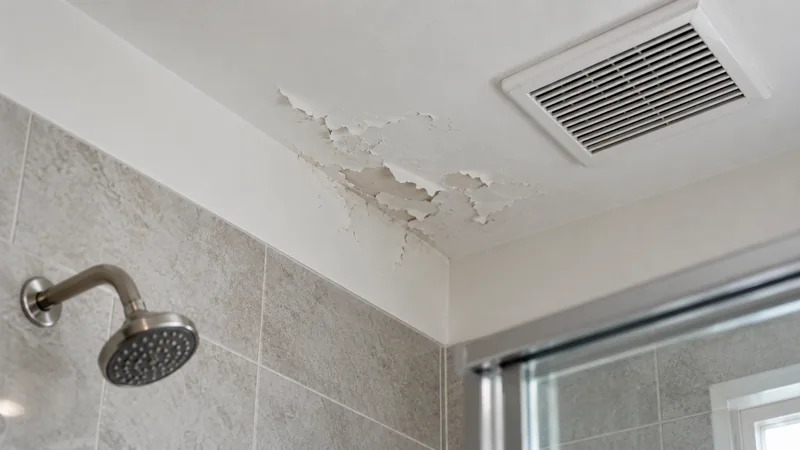
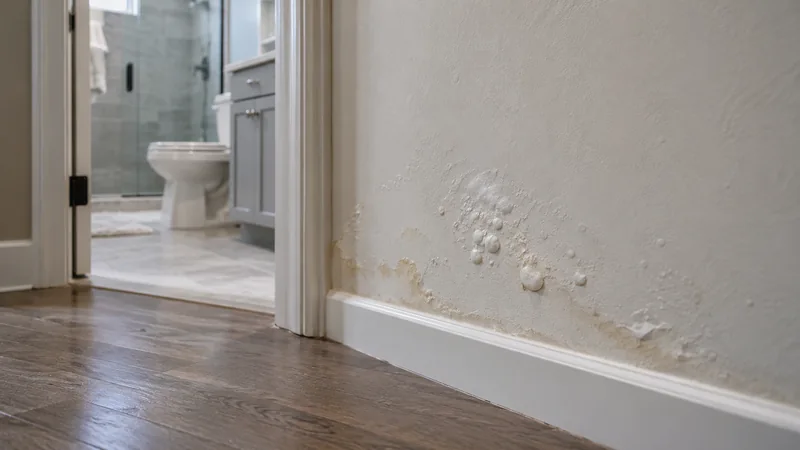
Look for evidence of a leak or recurring dampness, especially near windows, plumbing and exterior walls. Record whether rain or room use changes the pattern. Soft wall material, staining or a recurring localized damp area may require building repair before painting can resume.
Also review the conditions during application: surface temperature, airflow, humidity and the interval between coats. These affect drying without necessarily indicating a concealed leak. The product's permitted conditions and recoat instructions matter more than a universal number of hours. An interior wall that feels cool does not by itself establish condensation, just as a warm room does not prove the wall was dry.
Remove failed material without creating a larger avoidable problem
Once persistent lifting is confirmed, define an area that reaches sound coating and sound wall material. Do not leave loose edges simply because they will be hidden under filler. Conversely, do not assume every unaffected surface needs to be stripped because one localized patch failed.
Before scraping or sanding older or unknown coatings, determine the relevant lead precautions. If removal exposes torn paper, powdery plaster or softened wallboard, assess that substrate before choosing a patching product. The success of the new finish depends on the stability of everything below it. A visually flat patch over a weak base can still release when another wet coating is applied.
Before starting the sample, write down a simple comparison: where the failed area is, what remains attached beside it, and which preparation step will change. This keeps the experiment useful. If the only change is applying a different brand of finish paint over the same loose layer, the underlying uncertainty has not been resolved.
Test the complete repair sequence
A useful sample includes preparation, any substrate repair, the chosen primer and the intended finish. Keep the sample large enough to include the transition onto retained coating. Follow the instructions for each product and record the actual conditions, especially if the previous work was rushed or the room is unusually humid.
Check for renewed bubbles and evaluate the edge after the finish is ready for inspection. If the sample fails, stop and review the released layer again. Changing one relevant part of a documented process provides more information than switching several products and adding extra coats. For uncertain compatibility, ask the coating manufacturer to review the proposed system and failure evidence.
Finish the wall with both bond and appearance in mind
A repair that no longer blisters may still show a smooth island, a ridge or a sheen change. Decide whether local finishing is acceptable or whether the wall should be coated to natural boundaries. Matching a color is only part of that decision; the prepared surface and application texture also affect the result.
Keep a simple closeout record: original photographs, failed layer, suspected and confirmed causes, repair products and evaluation date. If the symptom returns later, those records narrow the next investigation. Repeated failure under the same conditions is a reason to revisit the cause, not to continue increasing the number of finish coats on an unstable area.
Questions & answers
Should I pop every bubble while the paint is wet?
No. Touching or working a partly set coating can add texture and make the original defect harder to assess. Follow the product drying guidance, document changes and investigate persistent lifting. Stop application if a widespread failure is developing rather than trying to roll it flat repeatedly.
Will a dehumidifier fix the bubbles?
It may help control an identified humidity problem, but it does not correct contamination, weak old coating or a leak. Determine why the bubbles formed first. Drying equipment should support a repair plan, not substitute for checking the wall and the conditions required by the coating.
Can I just sand the bubbles and use more paint?
That works only if preparation removes the unsound material and the underlying cause is addressed. If the same interface remains weak, another wet coat can reproduce the problem. Use a complete test repair before committing to the whole damaged area.
Sources & further reading
- Sherwin-Williams: BlisteringBlistering has multiple possible causes; the failed layer and moisture conditions guide repair.
- Sherwin-Williams: Peeling Over Hard, Slick SurfacesContamination, gloss and weak underlying layers can impair adhesion; preparation must reach a sound surface.
Reader discussions
These conversations describe problems people encountered. They do not establish the cause of a defect or replace product instructions and applicable requirements.