Visible Flashing at the Final Walkthrough: How to Assess the Finish Fairly
A fair walkthrough separates color, sheen, texture and substrate differences, then compares the dry finish with the written scope and any approved sample. Use agreed viewing conditions that represent ordinary use of the space. Document specific locations and test proposed corrections before accepting repeated spot work. There is no single universal viewing distance or flashlight method that automatically determines every painting contract's acceptance.
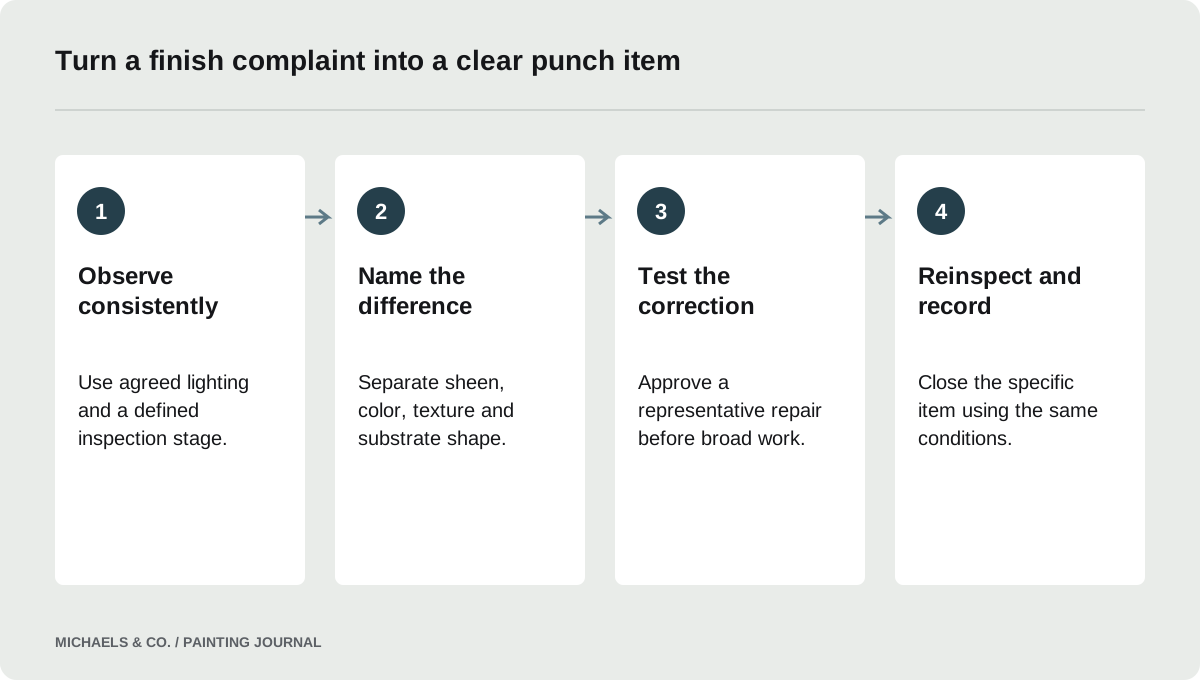
Confirm what is being inspected and when
Identify the completed surfaces and whether the coating has reached the stage appropriate for appearance review. A wet or recently repaired patch may change as it dries, so record application timing rather than judging it without context. The actual product instructions and project agreement should inform the review.
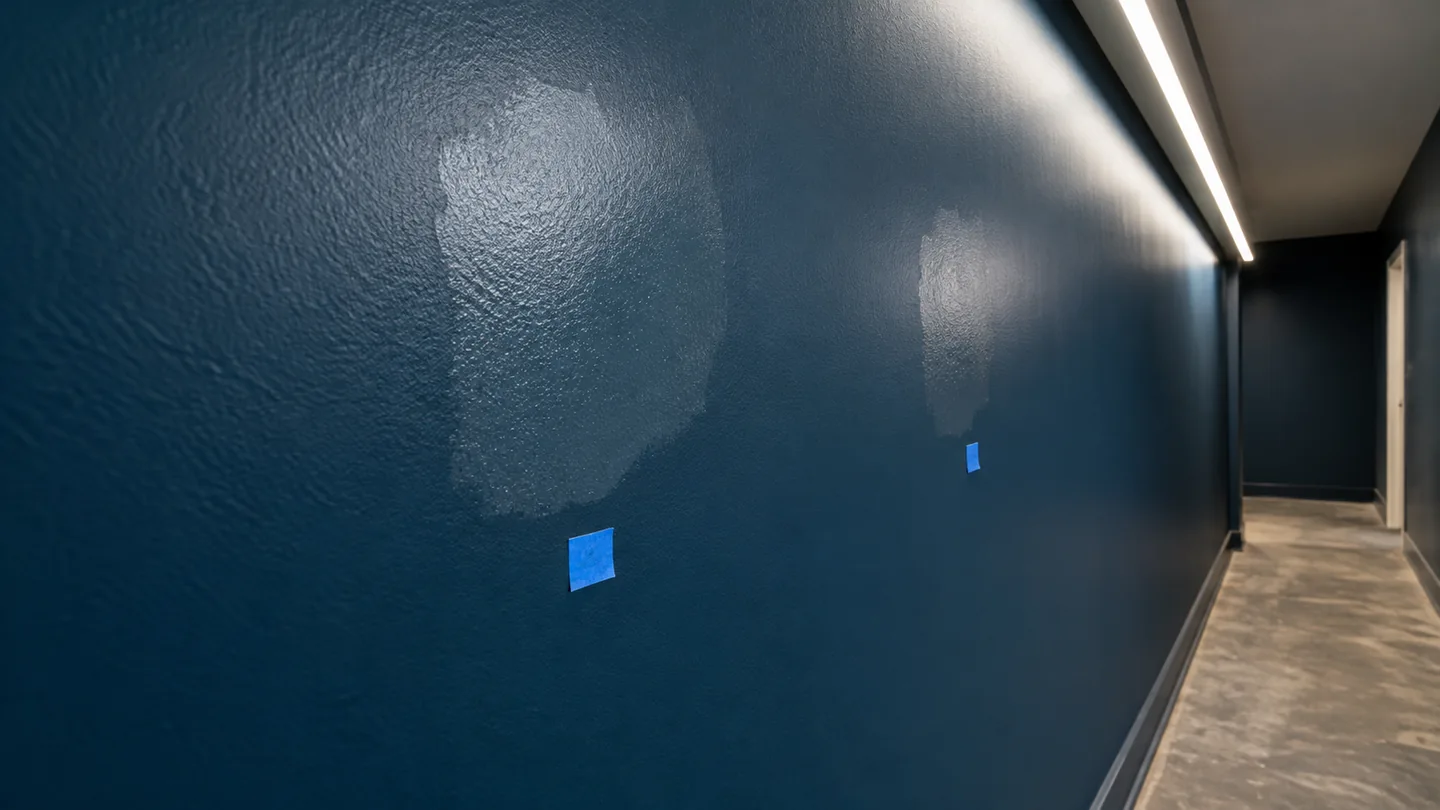
In this Reddit discussion, a visibly flashing fresh wall prompted disagreement about whether it was acceptable and whether touching up could resolve it. The discussion supports a structured inspection, not a universal verdict on every wall that reflects light unevenly. Begin by establishing the agreed finish and the conditions under which the owner and painter will review it.
Use consistent and relevant lighting
Inspect under the installed lighting and ordinary daylight conditions, together with any additional conditions agreed before work. Note which fixtures are operating and where the observer stands. Take photographs from comparable positions so later repair reviews are meaningful.
Do not invent a fixed legal viewing distance or introduce extreme grazing light as an automatic acceptance rule after completion. At the same time, ordinary side light from a prominent window is part of the room's real use and should not be ignored. Spaces designed with wall-washing fixtures deserve a sample under those fixtures. The goal is a repeatable comparison, not a contest to find the most flattering or most unforgiving angle.
- Walk the room with the agreed permanent lighting and normal daylight, recording where the finish is visible from ordinary entrances and occupied positions.
- Separate color, sheen, texture, ridges, and physical damage on the punch list, since calling every visible difference flashing can obscure the actual repair needed.
- Compare questioned areas with the accepted sample and written scope where available, documenting differences without inventing a universal viewing distance or industry acceptance rule.
- Agree on a small proposed repair and a review date after appropriate drying, including when an unsuccessful touch-up will trigger repainting to a natural boundary.
Name the visible difference precisely
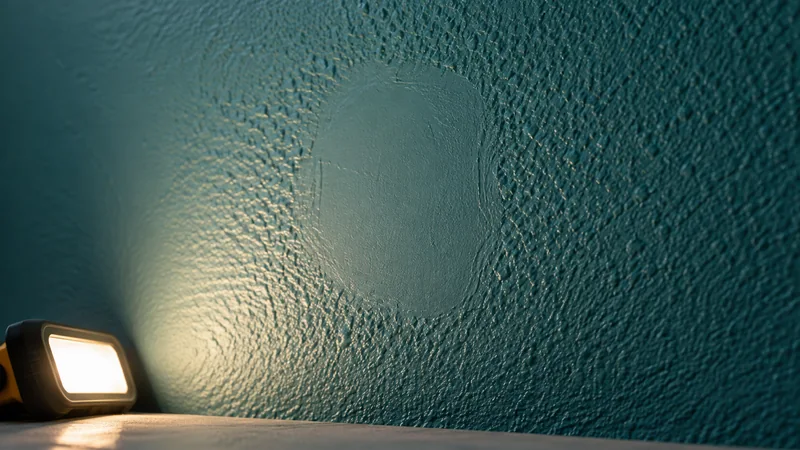
Separate a color mismatch from a sheen change, roller texture, a raised patch edge or an underlying wall wave. Photograph a broad view and a close view, then describe the location using a room and wall reference. Specific observations make a repair discussion more productive than a general statement that the paint looks bad.
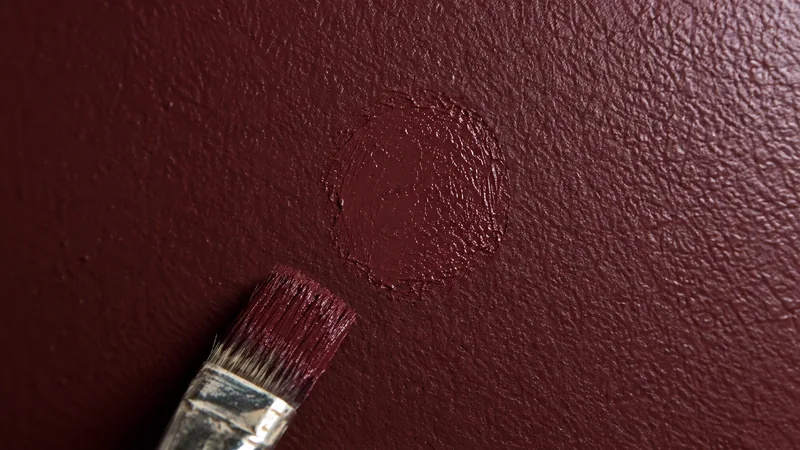
Sherwin-Williams: How to Fix Paint Flashing describes flashing as uneven sheen and identifies surface porosity and film build among possible contributors. That does not mean every dark-looking area is flashing. If the defect has physical height or follows a drywall seam, the correction may involve preparation. The visual description should guide the investigation without pretending that a photograph establishes the full cause.
Compare with the scope and accepted sample
Review what was included: repainting, patch repairs, texture matching, substantial wall leveling or another defined finish treatment. A project that included color renewal alone may differ from one specifying a highly uniform finish on new wall construction. Do not assume either scope from price or product quality alone.
An approved sample is useful when it reflects the actual color, sheen, substrate and lighting. A sample made on a different surface may have limited value. Record any preexisting conditions that were excluded and any changes agreed during the work. This keeps the walkthrough focused on the actual project commitments rather than expectations reconstructed after everyone sees the final room.
Separate appearance defects from adhesion concerns
A sheen difference on firmly attached paint calls for a different investigation from bubbling, peeling or soft material. Do not resolve an adhesion concern merely by agreeing that the color looks better from a distance. Identify the failed layer and substrate condition where lifting is present.
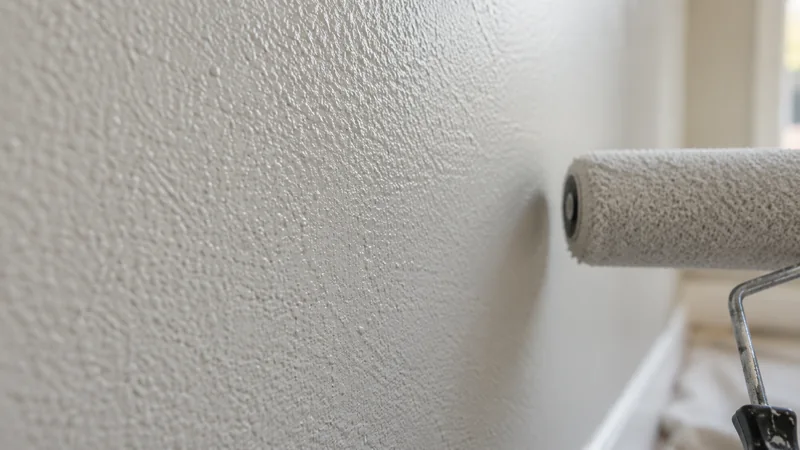
For appearance-only repairs, Sherwin-Williams: Obvious Repair (Touch-Up) identifies application tools, texture and other differences that can make a touch-up obvious. Sherwin-Williams: Roller Marks/Stippling addresses roller marks and applicator selection. These sources help distinguish possible mechanisms, but the contractor still needs to inspect the actual wall. A repair proposal should connect the observed condition with the proposed preparation or application change.
Approve a representative correction before broad callbacks
Choose one area that represents the problem and agree on how it will be repaired. Include preparation, any primer and the final coating method. Define when it will be inspected and what result will count as acceptable under the agreed lighting.
This step is especially useful when earlier touch-ups have enlarged the visible patches. A successful sample can establish whether local correction is realistic or whether the wall should be coated to natural boundaries. Do not ask the painter to repeat the same unsuccessful spot method throughout the building before the sample is evaluated. The trial should reduce uncertainty, not simply create another item on the punch list.
Write a punch list that can actually be closed
For each item, record the location, observed condition, agreed corrective work, responsible party and reinspection stage. Avoid vague entries such as fix walls or make perfect. A clear item might identify a raised roller line on a particular wall and specify preparation followed by finishing to the agreed boundary.
Keep unrelated defects separate. A visible patch, paint on hardware and an unpainted edge are different tasks. This makes scheduling and verification easier and prevents one completed correction from being mistaken for acceptance of everything else. If responsibility or scope is disputed, preserve the observations and contract records rather than turning the technical walkthrough into an unsupported legal conclusion.
Reinspect the correction and retain the finish record
Review the completed repair under the same relevant conditions and compare it with the accepted sample. Check that the correction did not create a new ridge, sheen border or unfinished edge. Record acceptance of the specific item rather than assuming one favorable photograph closes the whole project.
For ongoing maintenance, retain product, color, sheen and application information. Note any accepted existing wall variation so future staff can distinguish it from new damage. A good closeout gives the owner both an agreed finished appearance and enough information to maintain it. It does not promise that every future touch-up will be invisible or that later building movement cannot affect the surface.
Questions & answers
Is flashing automatically defective workmanship?
The appearance needs to be assessed against the agreed scope, sample and viewing conditions, with the actual cause investigated where necessary. Uneven sheen can have several contributors. Do not assume a universal contractual verdict from a photograph or from the word flashing alone.
Should I inspect the wall with a flashlight?
Use the viewing conditions agreed for the project and those representing ordinary use. A flashlight can help diagnose a surface profile, but an extreme light angle is not automatically the acceptance standard for every repaint. Document how the defect appears under the relevant room conditions.
Can the contractor keep touching up until the wall matches?
A controlled repair sample is a better starting point than unlimited repeated spots. If the sample cannot blend acceptably, agree on a broader finish area or another preparation method. Each correction should address the observed difference rather than simply add more paint in the same place.
Sources & further reading
- Sherwin-Williams: How to Fix Paint FlashingUneven porosity and film build can change sheen; sealing repairs can help equalize absorption.
- Sherwin-Williams: Obvious Repair (Touch-Up)Application tools, batch, repair texture and environmental differences affect how a touch-up blends.
- Sherwin-Williams: Roller Marks/StipplingRoller cover and application technique affect texture; follow the coating's recommended applicator specifications.
Reader discussions
These conversations describe problems people encountered. They do not establish the cause of a defect or replace product instructions and applicable requirements.