Painter's Tape Pulled Off the Paint: Tape Damage or Weak Adhesion?
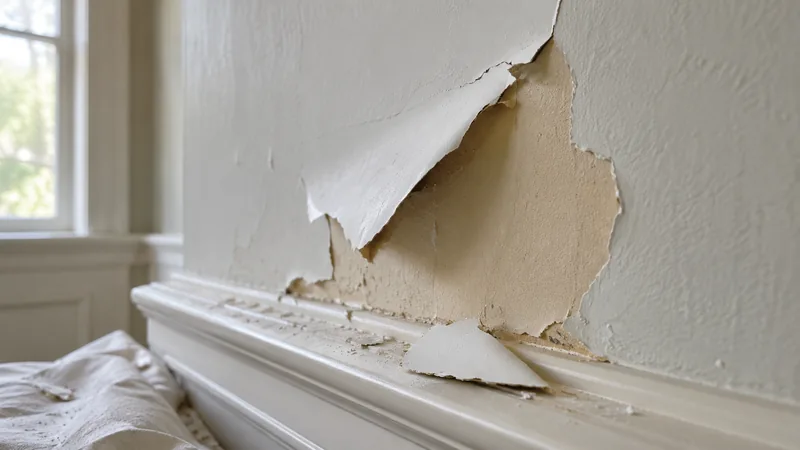
Tape can tear the paint film at its edge, but paint lifting well beyond the tape can also expose weak adhesion below. Stop pulling when the damage expands, record the tape and paint products, and inspect which layers released. The right repair depends on whether the damage is limited to a cut line, the new coating, or the underlying wall surface.
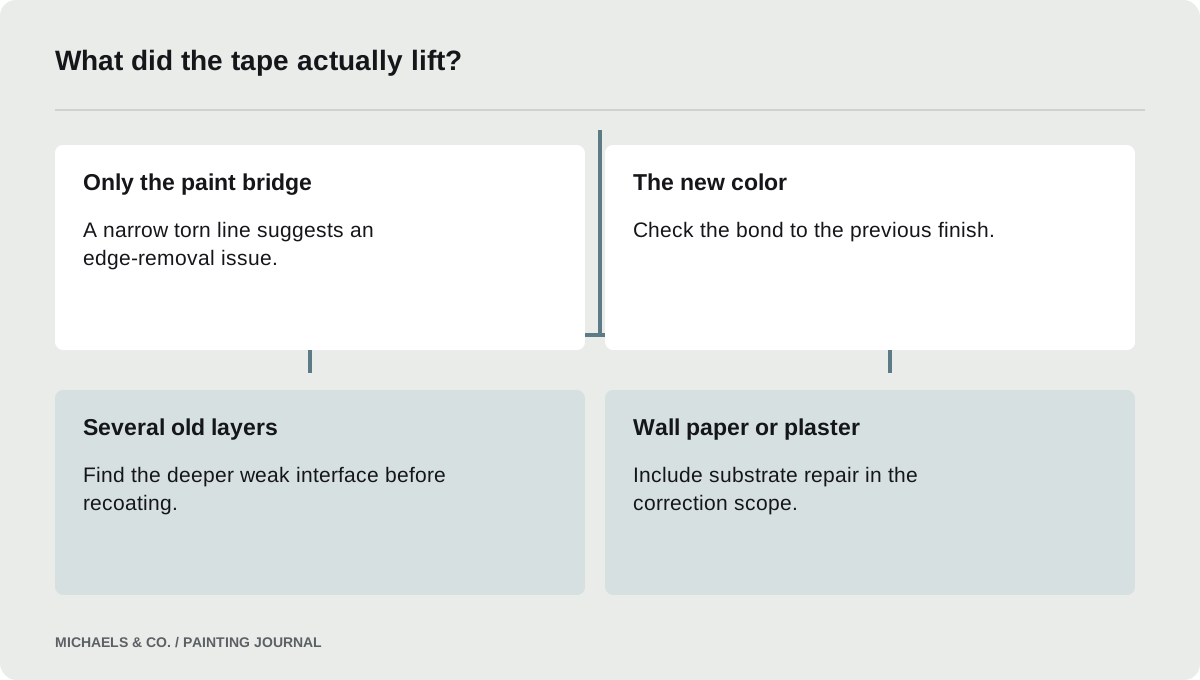
Look beyond the shape of the tape
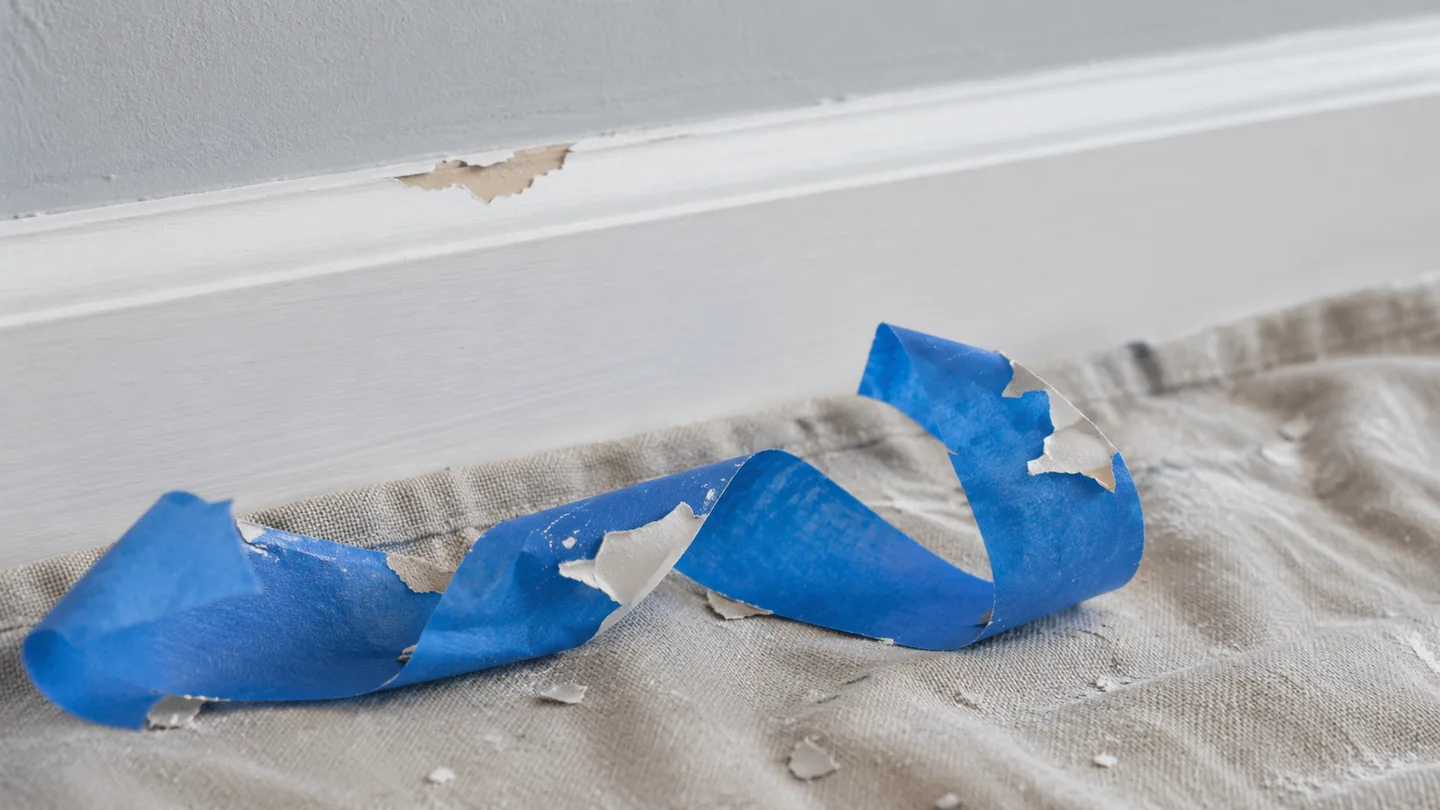
A narrow ragged line exactly beside the tape is different from a wide sheet of paint that keeps lifting after the tape is gone. The first can result from a film bridging across the tape edge. The second warrants investigation of the coating beneath the visible finish.
The homeowner in this Reddit discussion reported that tape pulled up paint outside the taped strip three days after painting. That observation does not by itself assign fault to the tape or prove an incompatible old coating. It establishes that the repair needs to address more than the appearance of the line. Photograph both the original strip and the expanding damage before proceeding.
Record the products and the sequence
Keep the tape packaging if possible. Tapes intended for delicate indoor surfaces, general masking and exterior exposure have different limitations. Record how long the tape was attached, the surface it was attached to, and whether paint was applied across it once or several times.
Also identify the paint, primer and any patching material. Dry-to-touch, recoat readiness and readiness for masking are not interchangeable stages. The coating and tape manufacturers may specify different conditions that both need to be satisfied. A statement that paint was applied three days earlier leaves out temperature, humidity, film build and the condition of the previous layers.
- Keep a removed tape strip if practical, noting whether it carries only a fine paint edge or broad flakes with several colors attached.
- Write down the tape product, application date, removal date, and coating dates; those details distinguish a product timing issue from an unsupported guess.
- Inspect the wall immediately beside the taped edge for curling, cracking, or weak patches that were already present but became visible during removal.
- Test any revised masking method on a small representative area first, following the specific tape directions and allowing the coating its required preparation interval.
Separate edge tearing from adhesion loss
Inspect a piece that has already detached. A topcoat-only fragment leaves a different repair surface than several old layers attached to drywall paper. If the paint tears cleanly at the tape edge and remains sound immediately beside it, correcting the edge may be enough. If coating continues to release easily, inspect a wider representative area before agreeing to a cosmetic patch.
Sherwin-Williams: Peeling Over Hard, Slick Surfaces explains that slick surfaces and contamination can impair bonding. Tape removal may reveal that weakness rather than create it. However, do not turn this into an automatic claim that the whole room needs stripping. The observed failure boundary and the condition of the retained finish should determine the preparation extent.
Remove the remaining tape deliberately
Check the instructions for the actual tape before continuing. Scotch Painter's Tape: Proper Tape Removal describes allowing paint to reach the appropriate dry condition, separating the paint bridge along the tape edge and removing tape carefully. The purpose is to avoid transmitting the pull into an attached paint film.
Do not use a blade casually against soft wallboard, trim seals or a valuable finished surface. Where scoring is appropriate, the objective is to separate the coating bridge, not to cut deeply into the substrate. Stop if removal begins taking larger layers with it. A more forceful pull is not a useful adhesion test and may unnecessarily enlarge the area needing repair.
Repair the damaged surface before rebuilding the line
Once the remaining tape is removed, assess the exposed surface. A shallow edge in sound paint can often be feathered and prepared locally. Torn drywall paper or loose plaster needs treatment suited to that material before filling. Otherwise, water from a repair product may aggravate an already unstable surface.
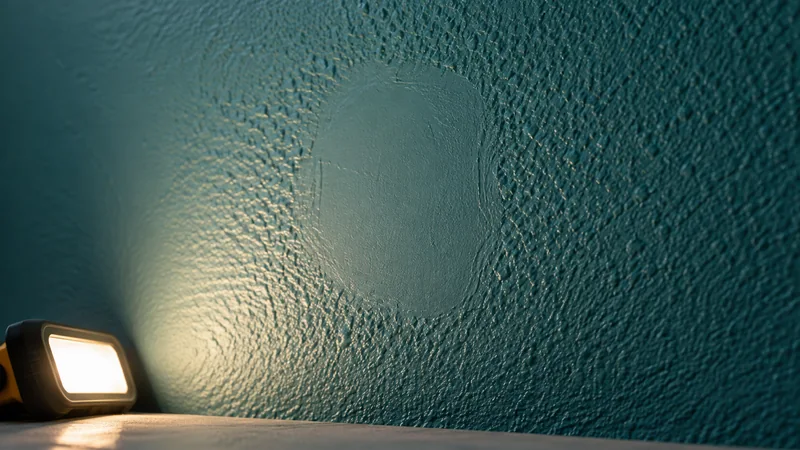
Establish whether lead precautions apply before sanding or scraping old or unknown paint. Protect the room and neighboring finishes according to the planned work. The preparation goal is a smooth transition onto firmly attached material. Applying a thick ridge of new paint over a torn edge may change its color while leaving the defect visible in side lighting.
Use a sample to plan the next masking stage
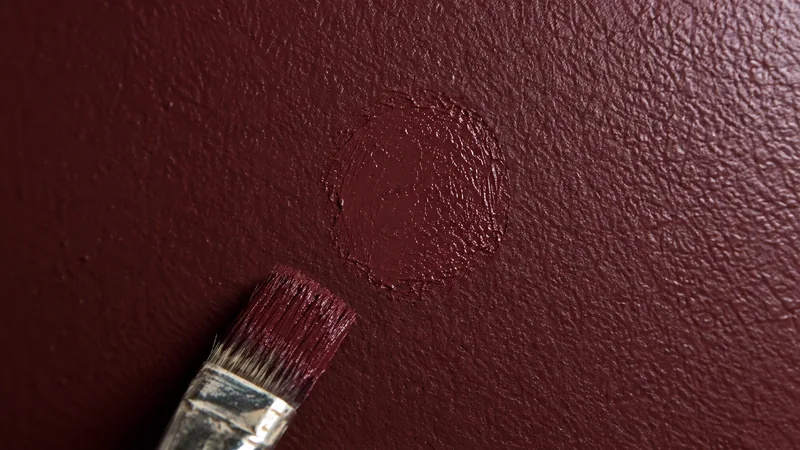
Complete a small repair area with the actual primer and finish sequence. Allow each material to reach the stage required by its instructions, then evaluate it before relying on the same method throughout the room. If the next task requires tape on that finish, test the proposed tape on an inconspicuous representative area.
A successful test is useful only if it resembles the real work. Different tape, a longer dwell time or an extra coating bridging over the edge can change the result. Keep the masking period within the product's limits and plan removal as part of the painting sequence, rather than leaving it until every unrelated task is finished.
Check the neighboring finish as well. Tape can bridge from a hard trim enamel onto a softer wall coating, so one continuous strip may behave differently along its length. Plan removal and any edge repair around those changes rather than assuming the whole strip is attached to a single material.
Decide whether the touch-up will remain visible
Even after the adhesion problem is fixed, a patched strip can differ in texture, color or sheen. Sherwin-Williams: Obvious Repair (Touch-Up) identifies application tools and repair texture as factors in an obvious touch-up. Match the original application method where practical and evaluate the finish dry, using the room's normal lighting.
If the line borders a large uninterrupted wall, painting the whole plane may be more predictable than repeatedly widening the patch. A small trim section may have a convenient natural break that keeps the repair limited. Discuss appearance separately from adhesion: a coating can be securely attached and still need broader finishing to meet the agreed visual result.
Leave useful instructions for later work
Future masking may occur during flooring, electrical work or decorating, when the next person does not know the paint history. Keep the product information and completion date with the project records. Identify any repaired areas that require additional time before contact or cleaning.
For an occupied property, a short handoff is more useful than a generic warning that paint is fragile. State which surfaces may be protected with which materials, the conditions required before masking, and who should be contacted if an edge starts to lift. This keeps a corrected paint line from becoming a new failure when another trade enters the room.
Questions & answers
Does delicate-surface tape guarantee that paint will stay attached?
No tape can make an unsound coating secure. Delicate-surface products can reduce stress on an appropriate finish, but their instructions and the paint condition still matter. Test the actual combination before using it widely, particularly on a newly completed or previously repaired wall.
Should I repaint the torn area immediately?
First remove the remaining tape safely and determine whether the exposed layers are sound. A quick recoat over loose edges, damaged paper or contamination can preserve the original weakness. Prepare the surface appropriately, then follow the drying and recoat requirements of the chosen repair system.
Is the painter responsible whenever tape lifts paint?
The appearance alone does not establish responsibility. Tape selection, dwell time, paint readiness, earlier coating condition and preparation can all matter. Document those facts and compare the work with the agreed scope before deciding what correction is needed or who should provide it.
Sources & further reading
- Sherwin-Williams: Peeling Over Hard, Slick SurfacesContamination, gloss and weak underlying layers can impair adhesion; preparation must reach a sound surface.
- Sherwin-Williams: Obvious Repair (Touch-Up)Application tools, batch, repair texture and environmental differences affect how a touch-up blends.
- Scotch Painter's Tape: Proper Tape RemovalFollow the paint drying directions and separate the paint edge from the tape before careful removal.
Reader discussions
These conversations describe problems people encountered. They do not establish the cause of a defect or replace product instructions and applicable requirements.