Trim Gaps Reopen Every Winter: Recaulking Without Hiding the Cause
Trim gaps that reopen in winter may involve seasonal movement, poor attachment, unsuitable sealant or a failed bond to the edges. Inspect the joint before filling it again. A sound moving joint needs a compatible sealant and appropriate geometry; a loose trim piece needs its attachment corrected. Paint can restore the appearance after repair, but it cannot restrain the underlying movement.

Record the seasonal pattern
Photograph the same joints when they are open and, if possible, when they close. Note indoor conditions, heating use and whether the movement appears in many rooms or only one area. This history helps distinguish a recurring pattern from a single newly failed joint.
The homeowner in this Reddit discussion installed trim in summer and noticed splitting months later in winter. Commenters disagreed about additional nails and flexible caulk. The report supports investigating both movement and attachment, not assuming that one explanation applies everywhere. A gap beside a loose piece can require a different correction from a firmly installed joint responding to changes in the building environment.
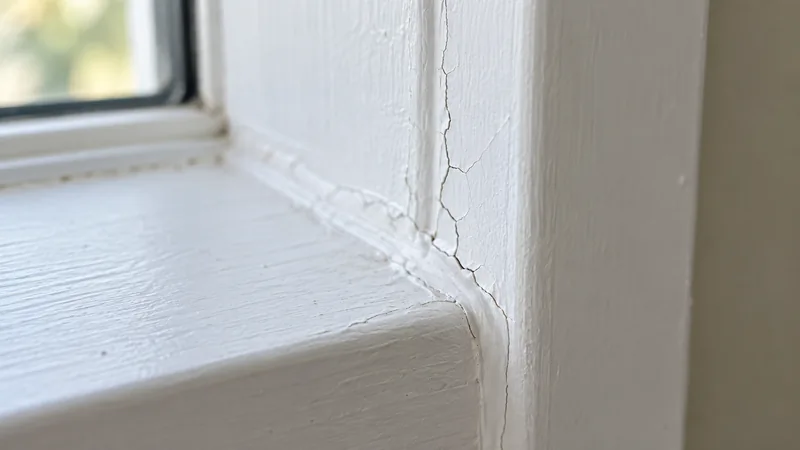
Distinguish an open joint from cracked paint
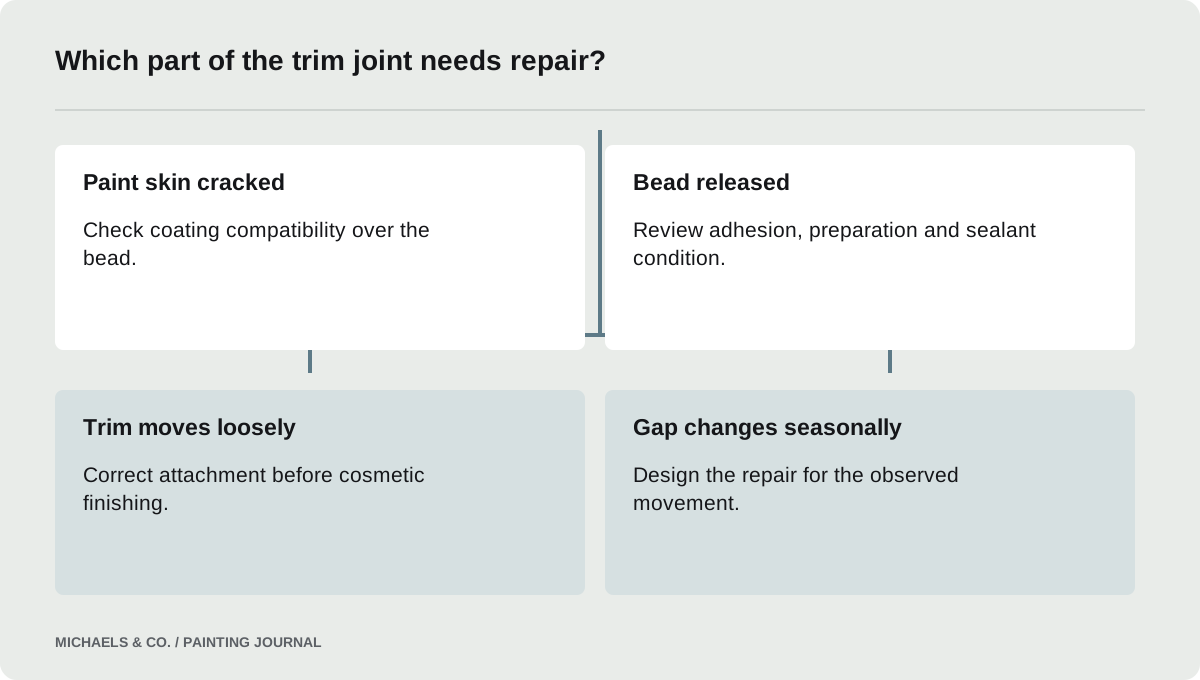
Look at whether the caulk remains attached to both sides, whether the bead itself has split or whether only its paint skin is cracked. These observations matter because painting an intact bead is a different scope from replacing failed sealant.
Sherwin-Williams: Caulk Failure describes caulk failure as loss of adhesion or flexibility and identifies product selection and preparation as relevant considerations. Record the failed location: trim-to-wall, a miter, a butt joint or a long perimeter. Do not use the same repair detail automatically for every type. Some joints are intended to move; others may need a carpentry correction before they can be finished acceptably.
- Photograph the same joint in the dry season and humid season if records are available, noting whether the gap opens at a repeatable location.
- Check whether the trim is loose, the bead has split internally, or adhesion has failed along an edge before selecting another tube of caulk.
- Compare affected joints with nearby trim connections to identify whether the problem is isolated installation movement or a broader seasonal pattern in the room.
- Ask how the repair accommodates the observed joint movement and geometry, and whether loose trim needs correction before the painter renews the visible finish.
Check whether the trim is secured appropriately
Have accessible loose pieces assessed without forcing them away from the wall. A component that moves during normal door use or light contact may need attachment repair. Additional fasteners should be selected and placed as part of a suitable carpentry plan, not driven blindly through finished trim to see whether the crack stops.
At the same time, fastening cannot eliminate every dimensional change in wood or the surrounding assembly. The useful distinction is unnecessary movement from an unstable installation versus movement the joint must accommodate. Ask the person inspecting it to describe that distinction. It prevents a cosmetic repair from being blamed for a construction condition it was never capable of restraining.
Review the joint shape and existing filler
Inspect the width, depth and condition of the gap after failed material is exposed as appropriate. A broad smear across uneven trim is not equivalent to a designed sealant joint. Layers of old brittle caulk may also prevent the new material from bonding to the actual surfaces.
Use the selected sealant's instructions for joint geometry and any backing requirements. Do not choose a product only because its label emphasizes stretch. Its adhesion, intended substrates, paintability and service conditions must fit the joint. Where the gap is unusually large or changes substantially, obtain a construction repair assessment rather than trying to hide it under an increasingly wide bead.
Prepare a reliable bond at both edges
Remove failed or brittle material as required by the repair method and clean the surfaces appropriately. Sherwin-Williams: Caulk Failure emphasizes removing contamination and considering the substrate's preparation before caulking. The new bead needs a suitable surface to bond to, not simply a clean-looking top layer over old failure.
Before scraping or sanding older or unknown painted trim, establish relevant lead precautions. Avoid damaging the surrounding wood or wall while removing sealant. If preparation reveals missing material or an unstable edge, repair that condition before caulking. The final bead should serve the joint's intended function rather than compensate for a collection of unrelated defects beneath it.
Match the sealant and finish system
Select a paintable product appropriate for the materials and expected movement. Confirm how it should be applied and when it can receive the intended coating. The paint film and the sealant have different roles; choosing a flexible bead does not automatically establish that any topcoat will perform well over it.
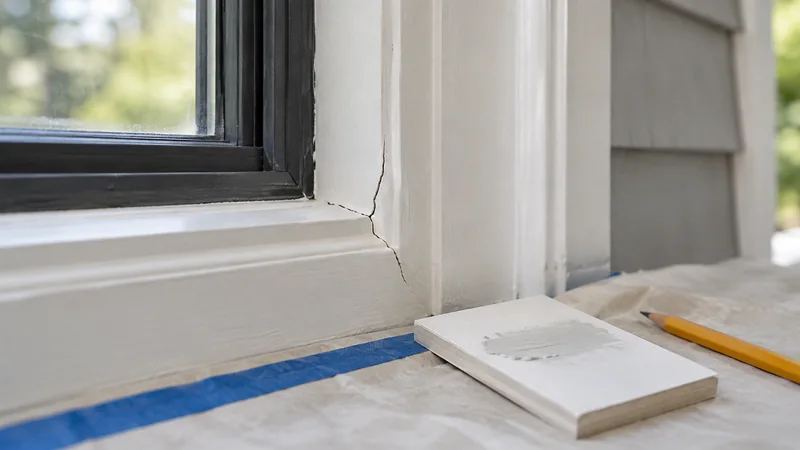
For a repeated problem, prepare one representative sample rather than redoing every joint immediately. Include the original surface condition and a joint that actually represents the issue. A tiny static gap near the floor cannot demonstrate how a long crown-molding joint will behave. Keep the products and sequence documented so the repair can be evaluated and, if successful, repeated consistently.
Plan the visual correction around the joint
A successful recaulk can still leave a visible paint transition. Decide whether the work includes touching up the bead, coating the full trim piece or repainting adjacent wall sections to a natural break. The appearance goal should be agreed before the joint is removed and rebuilt.
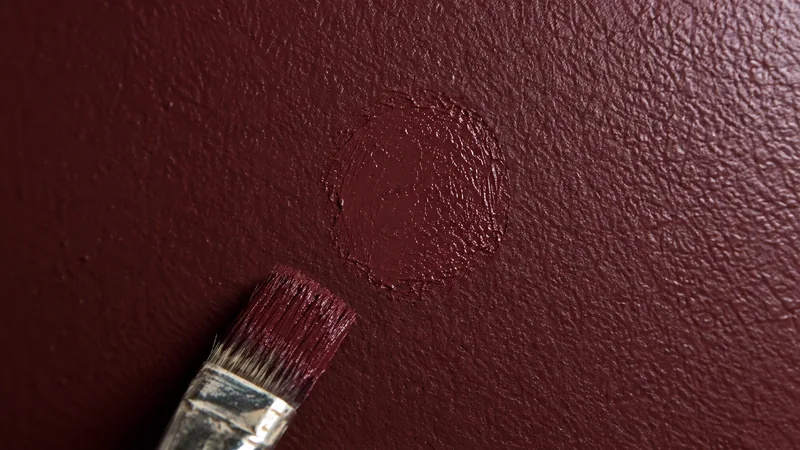
Match the original application texture as closely as the system allows. Do not expect a thick glossy stripe to disappear against a flatter wall simply because the color names match. Inspect the finish dry under ordinary room lighting. Where the original trim has uneven profiles or old paint buildup, discuss those limitations separately from the new joint repair.
Monitor recurrence without promising immobility
Keep dated photographs and the repair details. If a seasonal pattern was central to the diagnosis, observe the joint through normal changes in the building environment. Record whether the same edge releases or whether a different part of the assembly moves.
The goal is a suitable, serviceable joint and an agreed appearance, not an unsupported guarantee that a building will never move. If a repair fails quickly under ordinary conditions, review the sample, preparation and joint design. If many new cracks appear with other building symptoms, seek a broader assessment. Repeatedly running fresh caulk over every opening can hide useful evidence and make later repairs more laborious.
Questions & answers
Should I wait until summer when the gap closes?
The useful timing depends on the joint, its movement and the selected repair method. Document the seasonal range and discuss it with the repair professional. Do not assume a closed gap needs no attention or that filling the largest opening automatically produces the best joint.
Will more nails keep the caulk from cracking?
They may help if inappropriate looseness is part of the problem, but they cannot eliminate all dimensional movement. Have the attachment assessed and corrected appropriately. The sealant still needs a suitable joint and bond; fastening and caulking solve different parts of the assembly.
Can I caulk over the old bead?
That depends on whether the old material is sound and compatible with the repair system. Brittle, loose or poorly bonded material generally needs removal rather than burial. Inspect the joint and follow the product guidance before adding another layer that obscures the original failure.
Sources & further reading
- Sherwin-Williams: Caulk FailureSealant choice, surface preparation and movement affect joint durability; cracked or brittle caulk should be removed.
Reader discussions
These conversations describe problems people encountered. They do not establish the cause of a defect or replace product instructions and applicable requirements.