Choosing and Removing Painter's Tape for a Multi-Coat Job
Choose tape for the surface it will touch, including whether that surface is freshly painted, and plan removal around both the tape's instructions and the coating sequence. For example, FrogTape Delicate Surface guidance calls for a small test and slow removal at about 45 degrees while the newly applied paint is still slightly wet. Multiple coats need a deliberate plan; do not rush recoat times just to keep one tape line in place.
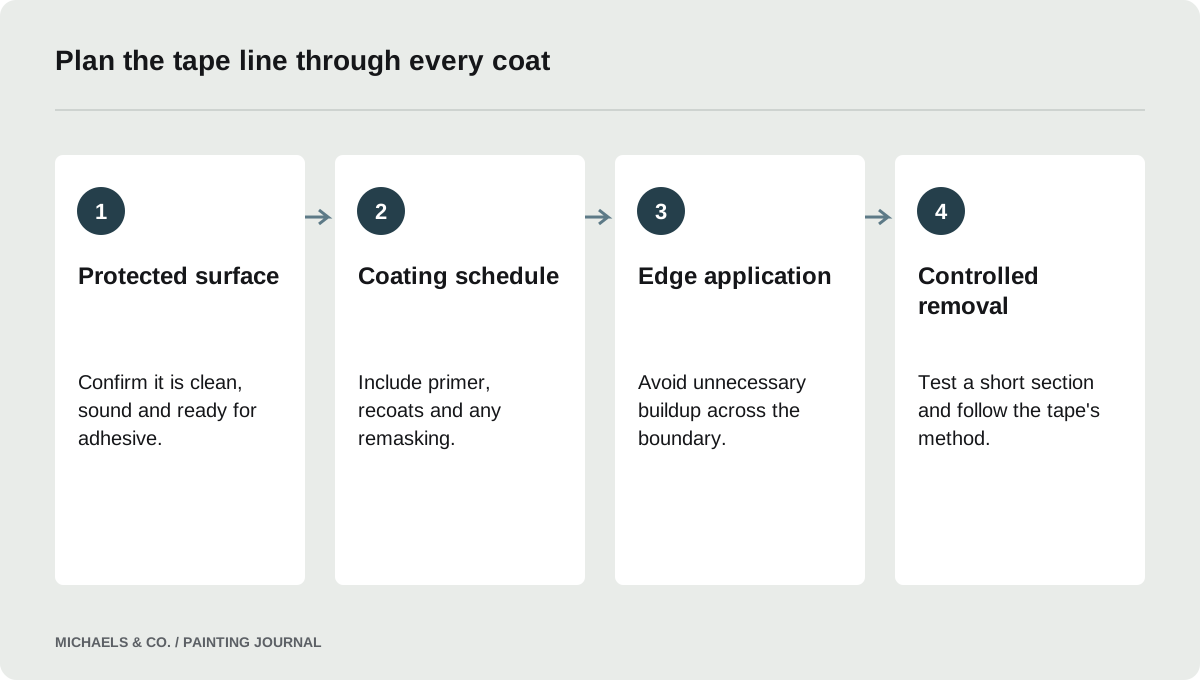
Separate the protected paint from the new paint
A taped boundary involves two surfaces with different jobs. The protected side must tolerate adhesive and removal. The painted side must release cleanly from the tape edge. Confusing those requirements leads to advice such as remove while wet being interpreted as permission to tape a wall that was painted only minutes earlier.
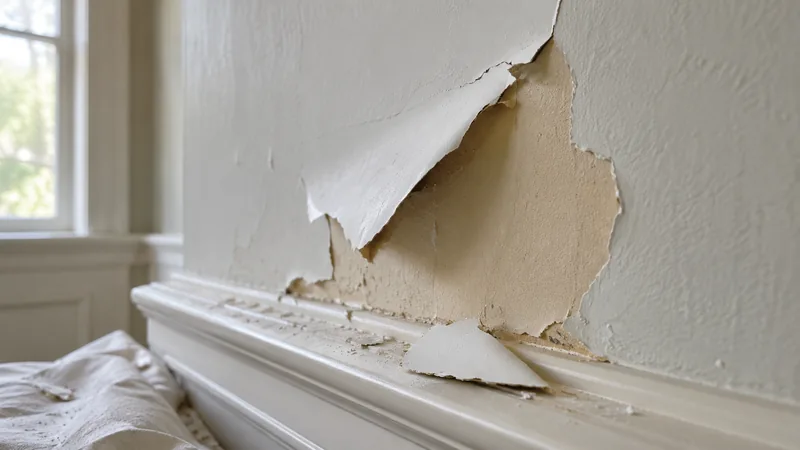
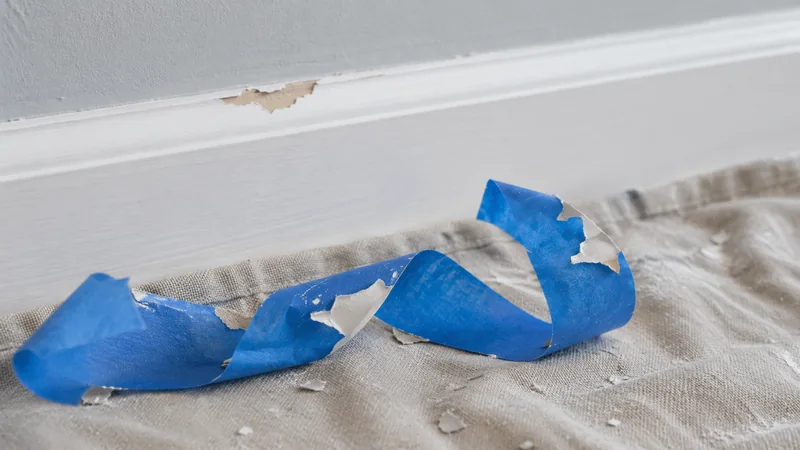
A Reddit question about removing tape after primer and two trim coats describes torn edges after a multi-coat sequence. The discussion raises a planning problem rather than proving a single tape defect. Identify which coating is underneath the adhesive, how long it has developed and whether the new coating has formed a bridge across the edge. Those observations determine what to change on the next section. A delicate-surface tape can reduce adhesive stress in suitable situations, but it cannot make a poorly bonded underlying paint layer stronger.
Match tape to the surface and expected dwell time
Read the tape's intended surfaces, indoor or outdoor use and maximum removal interval. Choose for the material beneath it, not only the width needed to protect a trim edge. Fresh paint, wallpaper, finished wood and rough masonry present different requirements. Sun exposure and a long project schedule can change which tape is suitable.
FrogTape's guidance for masking fresh paint identifies its Delicate Surface product for appropriate sensitive surfaces and recommends testing first. Its typical 24-hour fresh-paint guidance is not a universal statement that all paint is fully cured after one day. The coating's own readiness for tape still matters. If the paint needs longer, wait or change the work sequence. Keep the tape packaging until removal is complete so the allowed dwell time and application conditions remain available. A roll left from another project may be the wrong product even when its color looks familiar.
Prepare the edge so tape does not have to overcome dirt
Tape needs a suitable clean, dry surface. Dust, grease and loose coating can reduce contact or come away with the adhesive. Clean using a method compatible with the finish and allow it to dry before applying tape. Do not press increasingly hard to compensate for a contaminated or unstable surface.
Lay the tape accurately without stretching it into a shape that will pull back later. Press the working edge as directed, paying attention to corners and transitions where gaps can remain. Keep the rest of the protection supported so its weight does not drag on the paint line. On textured surfaces, tape may not seal every recess automatically; test the selected method and appearance before using it throughout the room. The goal is a reliable boundary with the least unnecessary stress on the protected surface, not the strongest possible adhesive bond at any cost.
Plan the primer and finish coats before masking
Write the sequence before starting: preparation, primer if required, first finish coat, recoat interval and final coat. Then decide when tape is applied and removed at each stage. A multi-day system may exceed the practical window for leaving one tape line in place, especially if it crosses fresh paint.
One approach may involve removing tape at the appropriate stage and reapplying suitable tape only after the protected coating can tolerate it. Another may be permitted by the exact tape and coating instructions. Do not assume a single universal answer. What is not acceptable is shortening the paint's recoat interval merely to pull tape while everything remains wet. If the schedule requires repeated masking, include that labor from the start. For a contractor, explaining the sequence helps an owner understand why a neat boundary can require more than one pass with tape.
Avoid building a thick paint bridge
Heavy coating at the tape edge can connect the new film to the tape more strongly than intended. When removal begins, that bridge may tear irregularly or pull against the adjacent finish. Apply the specified film build and avoid repeatedly loading the edge with extra paint in an effort to guarantee coverage.
Watch corners and molding details where several brush passes overlap. Keep paint distribution controlled and complete the edge while it remains workable. Do not scrape excess from a loaded brush directly against the tape line. If a bridge has already dried, follow the tape and coating maker's advice for separating it; do not pull harder as the default response. Any tool used near the edge must be controlled so it does not gouge the substrate or create a new visible line. When the protected coating starts lifting, stop and assess rather than continuing around the room.
Remove deliberately and check the first short section
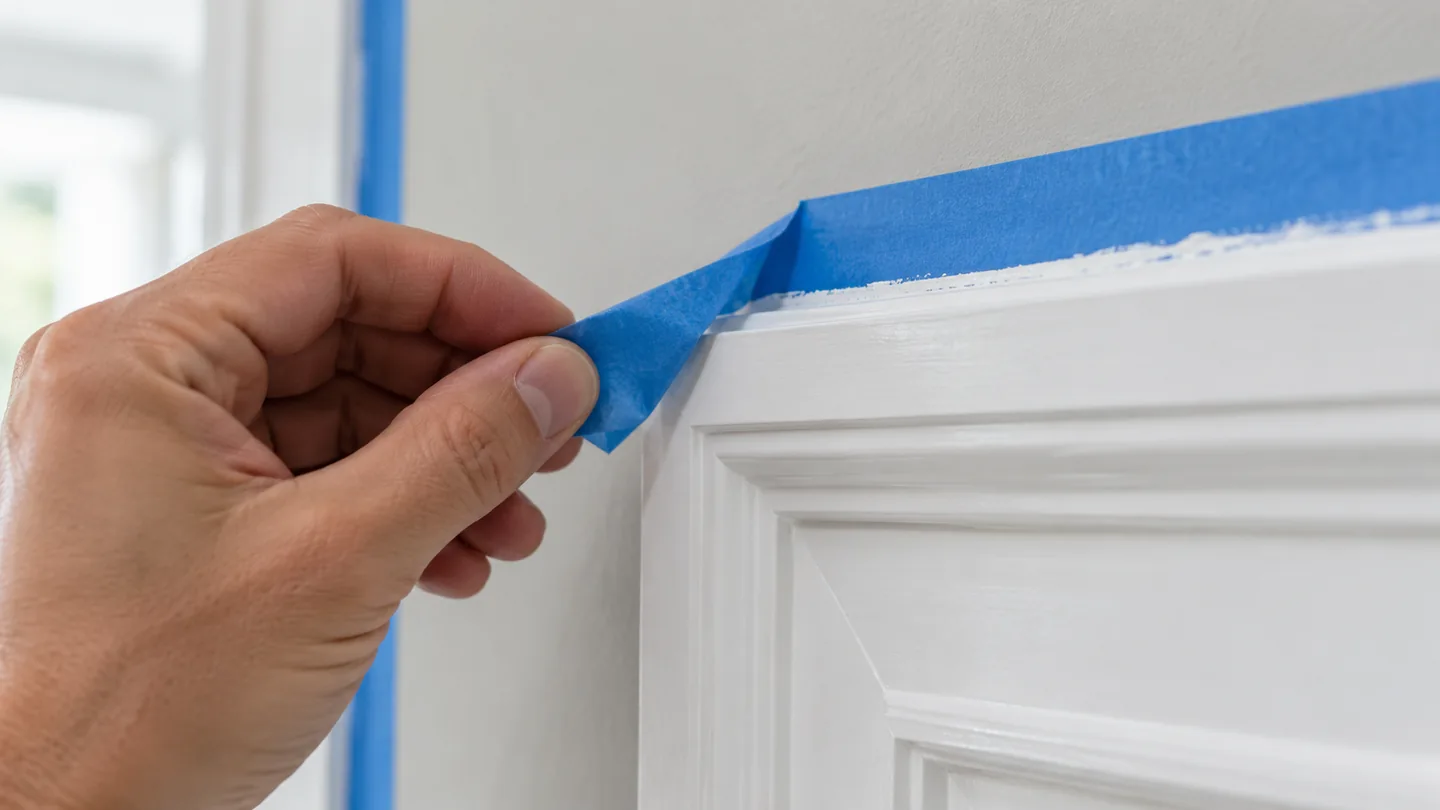
Use the removal method specified for the exact tape. The cited FrogTape guidance recommends slow removal at approximately 45 degrees while the newly applied paint remains slightly wet. That instruction concerns the paint at the boundary and does not cancel the need for the protected finish to be ready for tape.
- Confirm the tape's permitted removal interval.
- Check the coating stage and edge condition.
- Begin with a short, inconspicuous section.
- Pull slowly at the instructed angle.
- Keep the removed tape from touching the wet finish.
- Stop if the underlying coating lifts or the edge tears.
- Investigate the local condition before repeating the same method.
Have a clean place to collect the used tape. A long wet strip can swing into a wall, floor or newly painted trim if it is handled carelessly. Removal is part of the finishing operation, not merely cleanup after the important work is over.
Choose a different boundary method when tape is unsuitable
Some surfaces are too fragile, insufficiently cured or poorly bonded for the proposed tape. In that situation, stronger adhesive or repeated pressing is not a better plan. Adjust the sequence, allow more development time or use another appropriate protection and cutting-in method. A skilled brush edge may be preferable where adhesive contact presents unnecessary risk.
Before expanding the job, test the full cycle: tape application, coating, waiting and removal. A tape that sticks neatly for a minute has not passed a multi-coat test. For hired work, document any fragile existing finish that limits masking, since damage may originate in an older weak layer. For DIY work, practice on the least prominent boundary. The best tape choice is the one that fits the actual surface and schedule, with an edge method you can execute consistently without relying on a last-minute rescue.
Questions & answers
Should I remove tape after every coat?
The correct sequence depends on the tape, protected surface and coating system. Some jobs require removal and later remasking; others may permit a longer dwell. Plan this before painting and do not shorten the coating's required recoat interval just to preserve one masking line.
Is 24 hours enough before taping fresh paint?
It may be typical guidance for a particular delicate-surface tape, but it is not universal cure time. Check the paint's readiness for adhesive contact, actual drying conditions and the tape instructions. Test a small area before committing to a prominent boundary.
Will delicate tape prevent all paint peeling?
No. It cannot repair weak adhesion between old layers or make an unstable substrate sound. Suitable tape and careful removal reduce avoidable stress, but lifting paint calls for an assessment of the coating beneath it rather than simply a different tape color.
Sources & further reading
- FrogTape: Masking Fresh PaintUse tape intended for the surface, test it, and follow its application and removal instructions; freshly painted surfaces require particular care.
Reader discussions
These conversations describe problems people encountered. They do not establish the cause of a defect or replace product instructions and applicable requirements.